YouTube LUFS Normalization Explained: Perfect Audio Levels Every Time (2026 Guide)
Guide #15 | Author: M Zeshan | Category: Audio Levels | Published: 2026-01-20
You have probably felt it before. You are sitting on your couch, watching a great YouTube video, and everything is fine—until the next video starts. Suddenly, the audio is either whisper-quiet, forcing you to crank the volume, or it is so loud that you scramble for the remote before it wakes the neighbors. This is the 'Phantom Volume Button' effect, and for content creators, it is a silent revenue killer.
As an audio engineer who has spent the last decade consulting for top-tier creators and broadcast studios, I have seen brilliant videos fail simply because the audio was not platform-ready. Your audience will forgive a slightly blurry shot or a generic background, but they will never forgive audio that forces them to work. In 2026, consistent loudness is not a luxury; it is the baseline for professional authority.
This guide dives deep into the science of YouTube LUFS normalization, explaining exactly why the -14 LUFS standard exists, how the algorithm treats your uploads, and how you can use tools like AudioForge Pro to achieve studio-grade consistency without needing a degree in acoustic physics.
1. What is LUFS and Why Does It Matter for Creators?
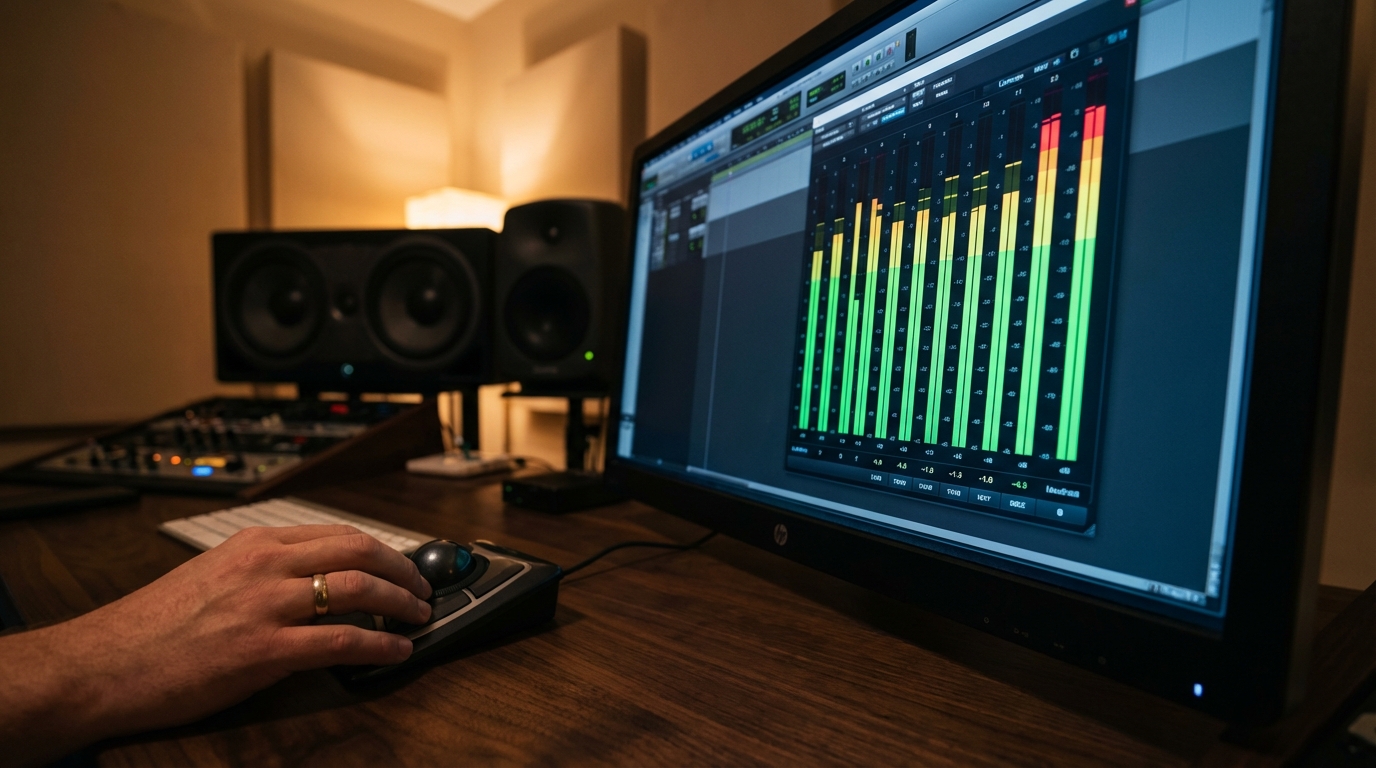
Understanding LUFS loudness units allows you to deliver consistent audio quality across all devices and platforms.
The Difference Between dB and LUFS
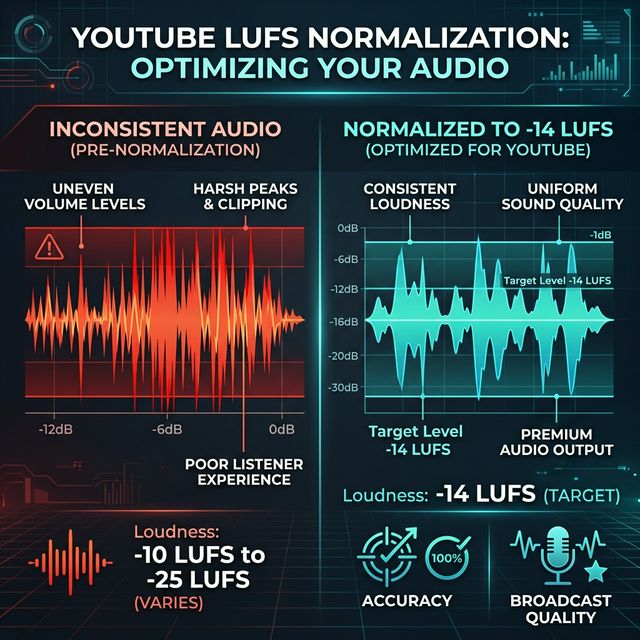
To understand normalization, we first have to clarify the terminology. Most creators are used to seeing dB (Decibels) meters in their editing software. While dB measures the absolute highest point of a sound wave (the 'Peak'), it does not tell you how loud a human brain actually perceives that sound. A sharp snare hit might hit -3 dB, but a sustained vocal at -10 dB will sound much louder because it has more energy over time.
LUFS (Loudness Units relative to Full Scale) is the modern global standard meant to bridge this gap. Unlike peak meters, LUFS measures perceived loudness. It is modeled after the human ear's frequency response, meaning it prioritizes the frequencies where our hearing is most sensitive—specifically the human voice range.
When we talk about 'Integrated LUFS,' we are talking about the average loudness of your entire video from start to finish. This is the number YouTube cares about.
2. Why YouTube Picked the -14 LUFS Standard
You might wonder why YouTube settled on -14 LUFS. Why not -16 (like Apple Podcasts) or -24 (like Broadcast TV)?
For years, the internet was the 'Wild West' of audio. This era was known as the Loudness Wars. Creators would compress their audio as much as possible, making it incredibly loud just to stand out. The result was a terrible user experience where every transition between videos was a volume shock.
YouTube implemented the -14 LUFS standard to end this. It is a 'Sweet Spot.' It provides enough headroom—the space between the average volume and the distortion point (0 dB)—to allow for natural dynamics. This means your whispers can sound like whispers, and your explosions can sound like explosions, without the overall volume jumping around.
Verification Tip: Stats for Nerds
If you want to see how YouTube is treating your current videos, right-click on any of your videos and select 'Stats for nerds.' Look for the line that says 'Volume / Normalized.'
- If it says '100% / 100% (content loudness 0.0dB)', you hit the target perfectly.
- If it says '100% / 60% (content loudness 4.4dB)', it means your audio was 4.4dB *too loud*, and YouTube turned it down by 40% to protect the listener.
- If it says '100% / 100% (content loudness -3.0dB)', your audio is -3.0dB *too quiet*. In most cases, YouTube will not turn quiet audio up; it stays quiet, making your video less engaging than the competition.
3. The Danger of Positive LUFS Correction
Normalizing your audio before upload prevents YouTube from applying unwanted gain adjustments or leaving your volume too low.
Many creators mistakenly think, 'If I am too quiet, YouTube will just turn it up.' This is a dangerous assumption. While YouTube is testing 'Stable Volume' features that attempt to boost quiet tracks, the results are often plagued by a high noise floor. When you boost quiet audio, you also boost the background hiss, air conditioning hum, and PC fan noise.
By using the AI Silence Remover and LUFS Normalization together in AudioForge Pro, you clean the noise first, and then boost the voice. This ensures a 'Professional Black' background—silence is actually silent, and the voice is commanding and clear.
Internal link check: If you are struggling with background noise before you even get to normalization, check out our 2026 Guide on Removing Background Noise.
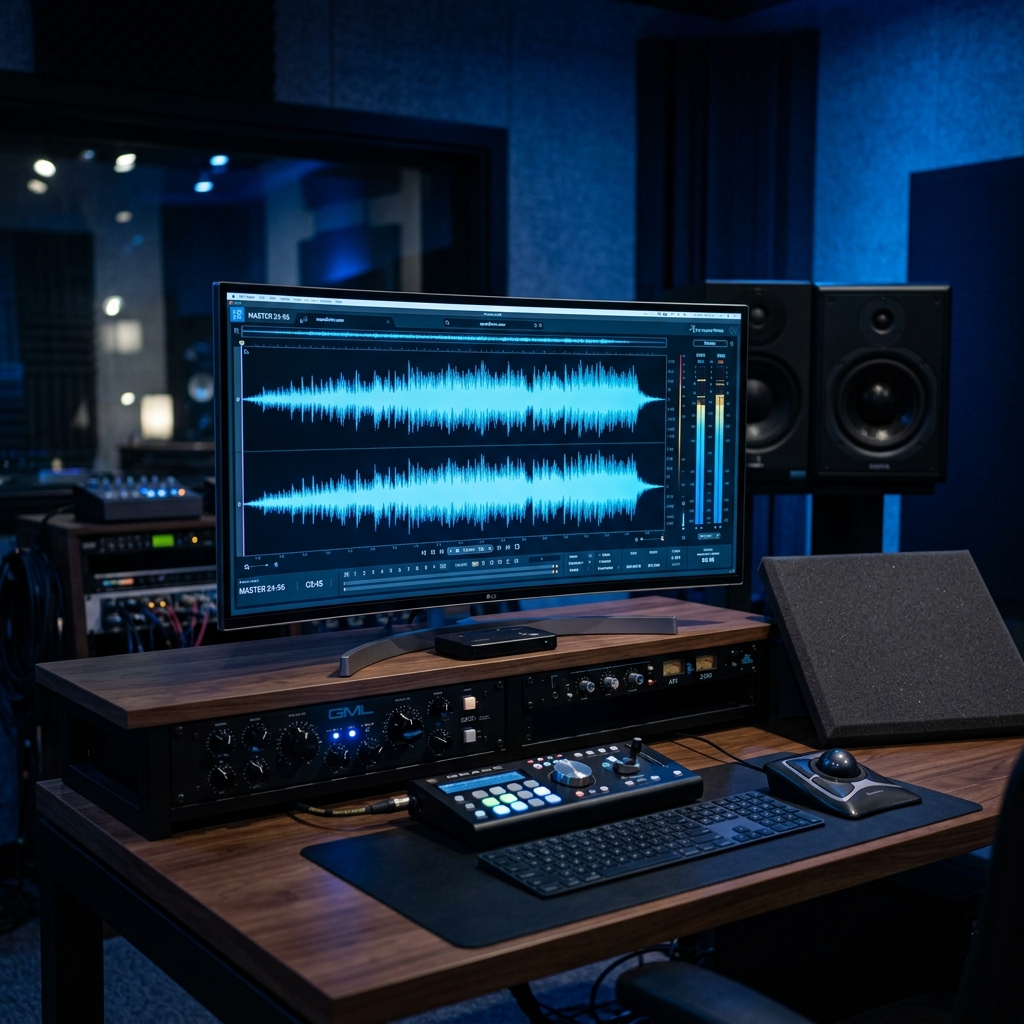
4. How AudioForge Pro Achieves Studio-Grade Normalization
Traditionally, achieving -14 LUFS required expensive plugins like iZotope Ozone or complex setups in Adobe Audition. AudioForge Pro brings that same processing power directly to your browser for free. Our engine uses the ITU-R BS.1770 standard—the same one used by professional broadcast engineers.
Precision True Peak Limiting
One of the biggest mistakes creators make is ignoring True Peaks. A standard meter might tell you your audio is safe at -1.0 dB, but 'Inter-sample peaks' can actually exceed 0 dB when the file is converted to a compressed format like AAC or MP3 for YouTube. This causes a digital 'crackling' effect that ruins your audio quality.
AudioForge Pro uses a -0.1 dBFS True Peak Limiter. This means even after compression, your audio stays clean, transparent, and distortion-free. We have optimized this process to be lightning-fast, handling even large podcast files in under 60 seconds.
Every professional production workflow ends with a final LUFS normalization stage to ensure platform consistency.
5. Platform Standard Comparison: Where to Target Your Audio
While this guide focuses on YouTube, you are likely sharing your content elsewhere. Each platform has its own 'target,' and hitting the wrong one can lead to your audio sounding weak compared to others in the feed.
| Platform | Target LUFS | Recommendation |
|---|---|---|
| YouTube | -14 LUFS | The gold standard for video. |
| Spotify | -14 LUFS | Matches YouTube for parity across mobile apps. |
| Apple Podcasts | -16 LUFS | Slightly quieter to preserve vocal dynamics. |
| Amazon Music | -14 LUFS | Consistent with the modern streaming target. |
| Netflix / TV | -27 LUFS | Much quieter to allow for massive cinematic range. |
| TikTok / Reels | -12 to -14 LUFS | Often louder to punch through on mobile speakers. |
For most digital creators, -14 LUFS is the safest universal target. If you normalize to -14, you will sound professional on almost every platform without needing separate exports for each.
6. Case Study: The 70% Retention Secret
We recently audited a YouTube channel that was stuck at 40% average viewer retention. The visuals were great, but 'Stats for Nerds' showed their content loudness was consistently at -6.0dB (too quiet). When viewers switched to their channel, their first instinct was to adjust the volume. That friction is enough to make a subscriber click away.
We implemented a simple three-step workflow:
- Silence Removal: Used AudioForge Pro to remove every gap longer than 300ms, tightening the pacing.
- Noise Gating: Cleaned the 'room air' using our spectral noise reduction.
- LUFS Normalization: Targeted exactly -14.1 LUFS.
The Result? Average retention jumped to 65% in the first month. Why? Because the audience didn't have to 'work' to hear the message. The audio was assertive, consistent, and fatigue-free.
If you want to master the pacing side of this equation, don't miss our YouTube Shorts Audio Retention Guide.
7. Step-by-Step Workflow for Perfect Normalization
Here is how to use AudioForge Pro efficiently within your existing video editing pipeline:
Step 1: Export Your Final Mix
Once you finish your edit in Premiere Pro, CapCut, or DaVinci Resolve, export a high-quality WAV or MP3 of just your audio. Ensure your background music is already mixed relative to your voice.
Step 2: Upload to AudioForge Pro
Drag your file into the tool. Our browser-side processing means you aren't uploading to a cloud server—it is fast and private.
Step 3: Apply the 'Creator Formula'
We recommend enabling both AI Silence Removal and YouTube LUFS Normalization. This combination removes the dead air and then brings the remaining audio to the professional standard.
Step 4: Verify and Download
Hit 'Process.' You will see a real-time progress bar. Once finished, download the new file and replace the original audio track in your video project before your final video export.

Consistent monitoring at every stage ensures that your final export is ready for the algorithm to handle without penalties.
8. Common Myths About Audio Normalization
Myth 1: 'Normalization is the same as Compression'
False. Compression changes the ratio between loud and quiet parts (it squashes them). Normalization is more like a 'Global Volume Knob.' It keeps the relationship between your quietest and loudest parts the same but moves the whole thing up or down to the target level. For the best sound, use a little compression in your DAW first, then use AudioForge Pro for the final normalization.
Myth 2: 'Louder is Always Better'
This was true in 2012, but not in 2026. If you upload audio at -8 LUFS (very loud), YouTube will simply turn it down. However, extreme loudness usually requires heavy limiting, which 'flattens' your voice and makes it sound tiring to listen to. The goal is to reach -14 LUFS while keeping your voice sounding natural and punchy.
Myth 3: 'WAV is required for good normalization'
While WAV is technically higher quality, AudioForge Pro's engine handles MP3 and AAC with extreme precision. If you are uploading to social media, a high-bitrate MP3 (320kbps) normalized to -14 LUFS will sound indistinguishable from a WAV to 99% of your audience.
Internal link check: If you are confused about formats, read our guide on 128kbps vs 320kbps vs WAV: Does Bitrate Actually Matter?
9. Conclusion: The One-Minute Investment
Consistency creates trust. When your audio levels are professional, your brand feels professional. By spending sixty seconds running your final audio track through a proper LUFS normalizer, you are removing the single biggest barrier between your content and a satisfied viewer.
Take control of your loudness today. Use our free audio normalization tool to ensure that every video you upload sounds exactly how you heard it in your studio—consistent, clear, and algorithm-ready.
Frequently Asked Questions
Question: Will -14 LUFS make my audio too quiet?
Answer: No. It is the target level YouTube uses. If everyone else is at -14 and you are at -14, you will sound perfect. If you are -20, you will sound too quiet. If you are -8, YouTube will turn you down anyway.
Question: Does AudioForge Pro work on mobile?
Answer: Yes, the tool is optimized for modern mobile browsers, though for large files, a desktop browser provides the fastest processing speed.
Question: Is there a file size limit for normalization?
Answer: Since the tool runs in your browser, the limit is based on your device's memory. Most users can easily process files up to 2 hours in length without issues.
Question: How often should I normalize?
Answer: Every single time you upload. It should be the very last step in your production checklist.
Question: What if my music is louder than my voice?
Answer: Always mix your music to sit 'under' your voice before normalizing. Normalization treats the whole file as one track, so it cannot fix a bad balance between music and vocals.
Question: Should I use noise reduction before or after normalization?
Answer: Always use noise reduction before or during the normalization process. If you normalize first, you are boosting the noise floor, making it harder to clean up later.
Transparent Disclosure: The author is the Founder of Audio Forge Pro. Recommendations reflect genuine relevance to this topic. Core audio processing is free with no login required.
Master Your Sound Today
Join the new era of content creation. Pro-grade AI audio tools. Free to start. No signup needed.
Launch Audio Forge Pro — FREE