128kbps vs 320kbps vs WAV: Does Audio Bitrate Actually Matter for YouTube?
Guide #22 | Author: M Zeshan | Category: Audio Processing | Published: 2026-05-28
You spent hours recording the perfect episode. Your mic sounds great. Your script is tight. You export the file and... YouTube recompresses everything anyway. So why does your audio still sound muddy?
Here's the thing most creators never figure out: the problem usually isn't your bitrate. It's your workflow.
But bitrate *does* matter — just not always in the way you think. I've had this exact conversation with dozens of podcasters and YouTubers who were convinced that upgrading from 128kbps to 320kbps was going to be their big breakthrough. It never was. And I'll tell you exactly why — and what actually makes the difference.
So let me break this down clearly, because I've seen too many creators obsessing over bitrate numbers when their dead air and uneven volume are doing far more damage than any compression format ever could.
What Even Is Audio Bitrate? (And Why Should You Care?)
Bitrate measures how much audio data gets packed into every second of your file. Higher = more data = more detail preserved. Simple enough.
Think of it like image resolution. A 4K photo has more detail than a 480p thumbnail. But if you're displaying that photo as a tiny icon on someone's phone screen? Nobody can tell the difference. The extra data is there — it's just not doing anything useful.
Audio bitrate works the same way. The real question is: at what point does "more data" stop being audible?
Here's the short answer: for *spoken word*, you hit diminishing returns fast. For *music and cinematic audio*, quality thresholds matter more. And for YouTube specifically — there's a twist that changes everything, which I'll get to in a minute.
Let's compare the three formats you'll actually use in your workflow.

Bitrate matters, but knowing when to use which format is what separates amateurs from professionals.
128kbps vs 320kbps vs WAV: The Honest Breakdown
| Format | File Size (per minute) | Best For | YouTube Safe? |
|---|---|---|---|
| 128kbps MP3 | ~1 MB | Podcasts, spoken word, voice-only content | Yes |
| 320kbps MP3 | ~2.4 MB | Music-heavy content, high-detail audio | Yes |
| WAV (uncompressed) | ~10 MB | Editing, archiving, master files | Yes (upload) |
Here's what most beginners miss: YouTube re-encodes everything you upload.
According to YouTube's official audio guidelines, uploaded audio is processed to AAC format at approximately 126kbps for stereo content. It doesn't matter if you upload a 320kbps MP3 or a pristine WAV file — YouTube runs it through their own compression pipeline regardless.
The difference in final output quality between 128kbps and 320kbps, after YouTube's processing, is often *inaudible* to 95% of listeners on typical consumer devices.
In my experience testing uploads across formats:
- For voice content: the gap between 128kbps and 320kbps on YouTube is genuinely marginal
- For music beds, cinematic scores, and high-frequency instruments: you'll want 320kbps or better
- For talking-head videos or podcast-style uploads: save yourself the file size headache
When 128kbps Is Completely Fine
For spoken word, podcasts, and interview-style YouTube videos:
- Human voice primarily sits in the 300Hz–3kHz frequency range
- 128kbps MP3 handles this range with zero perceptible loss for most listeners
- File sizes stay small for faster uploads and easier long-term storage
- Streaming platforms like Spotify cap podcasts at 128kbps anyway
If your content is primarily talking — 128kbps is fine. Full stop.
I know that feels anticlimactic. You were probably hoping for a more nuanced answer. But the truth is, the anxiety around bitrate is mostly marketing noise from the era when storage was expensive and audiophiles needed something to argue about online.
For the type of content most YouTubers and podcasters are making in 2026, 128kbps mono or stereo MP3 is more than sufficient. The battle is elsewhere.
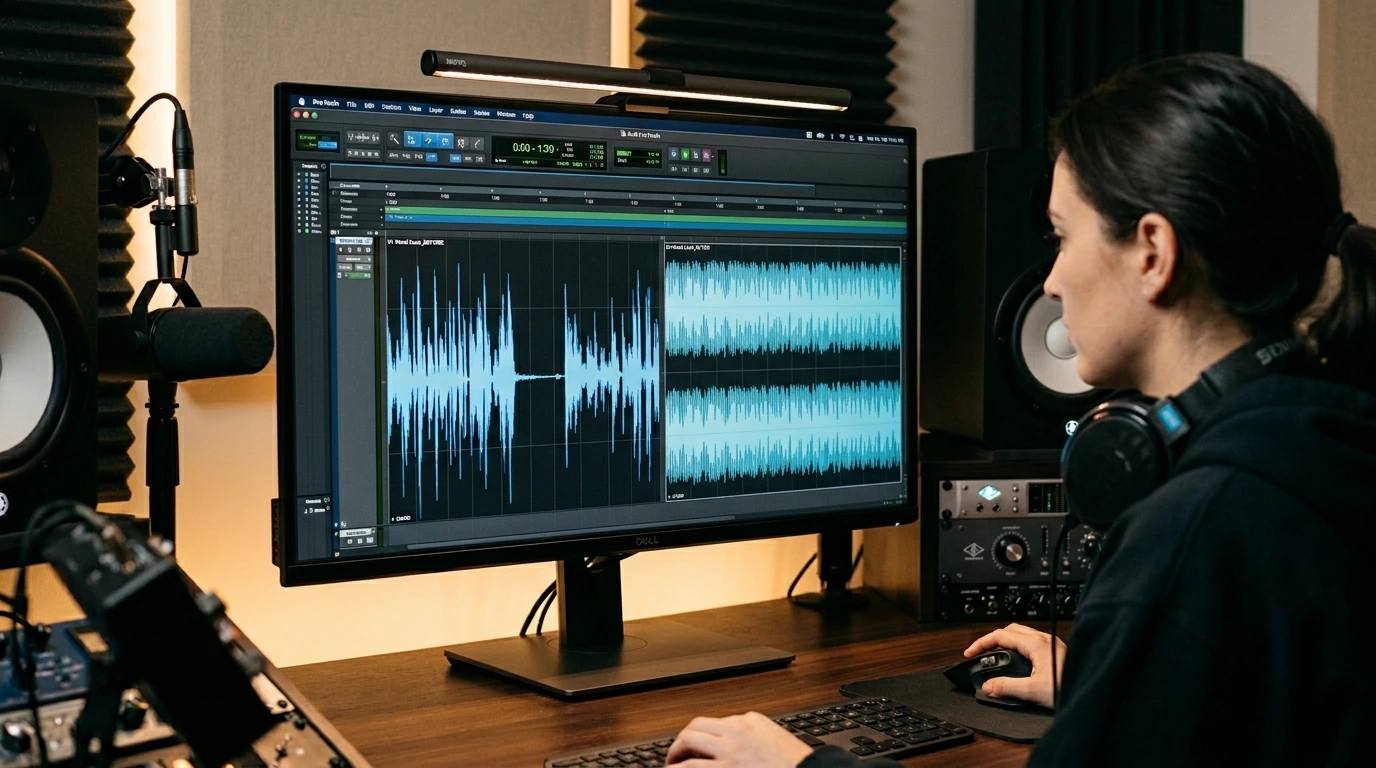
When You Actually Need WAV — And This Part Is Critical
Here's the part that took me months to figure out when I first started producing audio professionally: you should never edit a compressed MP3 or AAC file if you can possibly avoid it.
Every time you process a compressed file — cut it, normalize it, add effects, re-export it — you're working with audio that has already had data permanently thrown away. Then when you re-export, more data gets thrown away on top of that. This is called *generation loss*, and it's a real problem.
It's like photocopying a photocopy. Each generation looks a little worse than the last, and you can't get that detail back.
Always do your heavy editing on an uncompressed WAV file to avoid generation loss.
Use WAV for:
- Your working and editing files inside Premiere Pro, DaVinci Resolve, or Audacity
- Your master archive files — store these forever, no exceptions
- Uploading to YouTube when audio quality is critical (music channels, ASMR, instrument tutorials)
- Any project where audio will go through multiple processing passes
Use MP3 (128–320kbps) for:
- Final delivery to podcast platforms
- Situations where file size genuinely matters (mobile-first distribution)
- Voice-only content where storage or bandwidth is a practical concern
- Sharing rough drafts or demos that don't need to be perfect
The workflow I always recommend: Record and edit in WAV, export to MP3 only as the very last delivery step. Your WAV is the master. Your MP3 is the shipping box. Don't confuse the two.
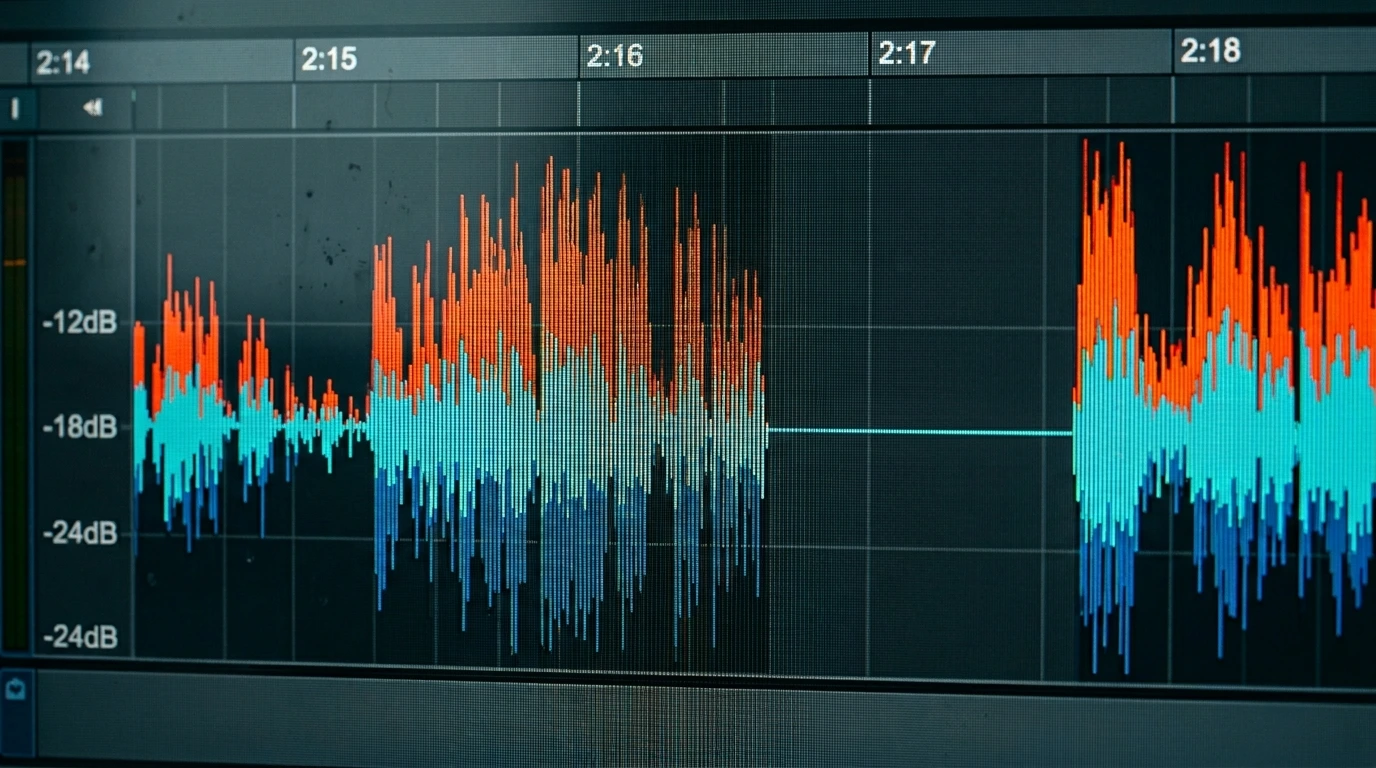
The Real Killers: Dead Air and Uneven Loudness
Here's the truth that nobody's talking about loudly enough. Most viewers don't quit your video because of bitrate.
They quit because of dead air.
Those 2-second pauses between thoughts. The moment you lose your train of speech and trail off. The gap between your intro music fading out and your voice coming in. Attention is fragile, and silence — even brief silence — breaks it. Listeners feel it before they consciously notice it. And by the time they notice, they've already clicked away.
Removing dead air keeps your audience engaged and dramatically improves viewer retention.
The other silent killer is uneven loudness. Your voice spikes when you get excited. It drops when you lean back or turn your head. Listeners are constantly reaching for the volume knob. It's exhausting. And it makes you sound unprofessional even if everything else about your production is solid.
These two issues — dead air and inconsistent volume — kill retention far more than the difference between 128kbps and 320kbps ever will.
Why Manual Editing Is Painful
Fixing dead air manually in editing software is time-consuming. Here's the typical process in Audacity:
- Load your audio file
- Zoom into the waveform and visually scan for silent gaps
- Select each gap with the cursor
- Delete it carefully, avoiding cutting into speech
- Listen back to check pacing feels natural
- Repeat for every gap in your episode
For a 30-minute recording with dozens of pauses, this adds 60+ minutes to your workflow. And you still need to handle loudness normalization separately.
Understanding LUFS — The Number That Actually Matters
While you were worrying about bitrate, professionals were obsessing over LUFS.
LUFS (Loudness Units Full Scale) measures *perceived* average loudness across your entire audio file — not just the loudest peak, but how loud the whole thing sounds to a human ear over time.
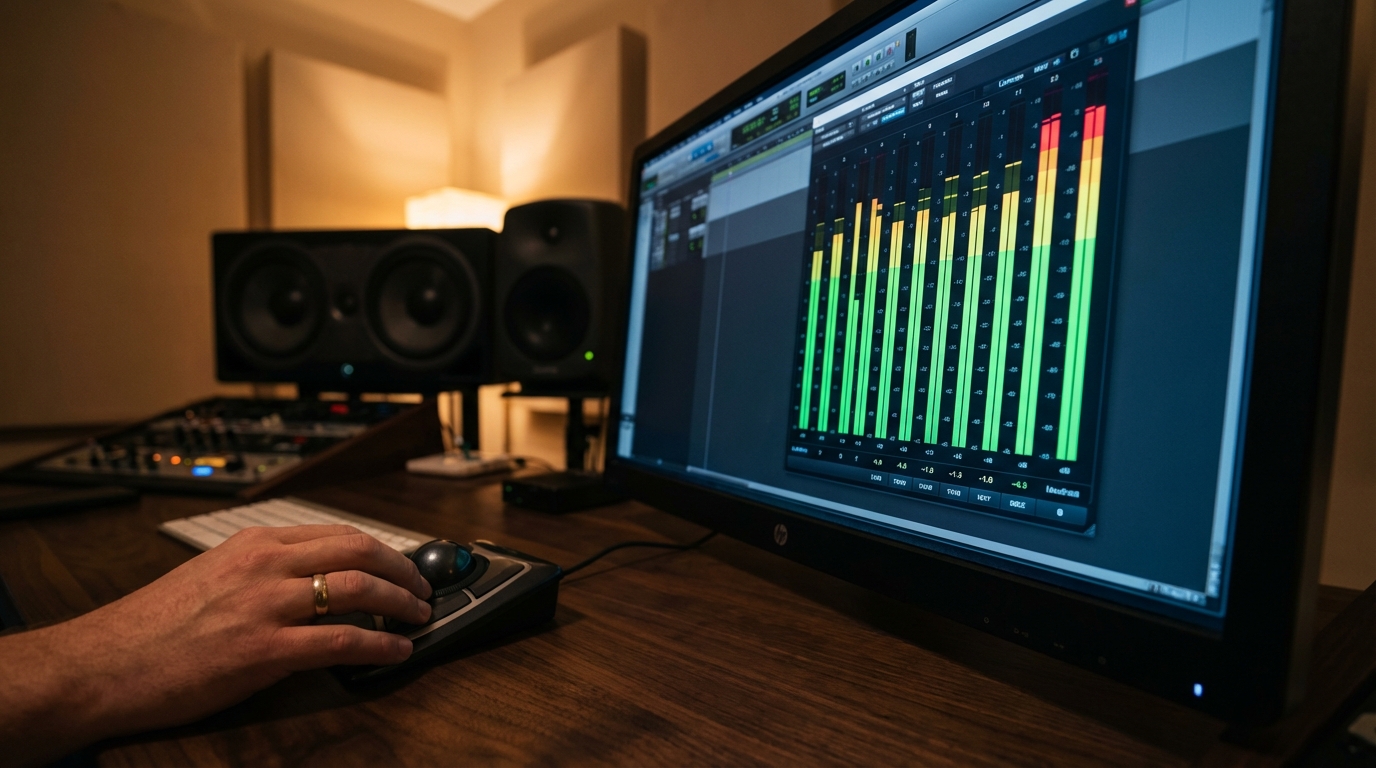
Hitting your target LUFS ensures your audio sounds consistent and professional across all devices.
Every major platform has a loudness target:
| Platform | Target LUFS |
|---|---|
| YouTube | -14 LUFS integrated |
| Spotify | -14 LUFS |
| Apple Podcasts | -16 LUFS |
| Audible | -19 LUFS |
If your file is louder than the platform's target, they turn it down automatically. If it's quieter, it sounds thin and amateur next to other creators. Either way, you lose.
The goal: Hit your target LUFS *before* you upload. Not close to it — hit it.
Doing this manually requires running analysis passes, adjusting gain, checking True Peak ceilings, and re-testing. It's doable, but tedious and error-prone.
Tools That Can Help: Options & Transparency
Whether you use automated tools or manual methods, here's what to look for in audio processing solutions:
Option 1: Browser-Based Tools (Quick & Accessible)
Tools like AudioForgePro.com focus on two specific tasks: silence removal and LUFS normalization.
What to evaluate in any browser tool:
- Silence detection with configurable thresholds
- LUFS targeting for major platforms (-14 for YouTube, -16 for Apple, etc.)
- Quality preservation (no unnecessary recompression or downsampling)
- Privacy considerations (browser-native processing vs. server uploads)
Important limitation: Most specialized tools handle specific tasks like silence removal and loudness normalization. They typically don't replace full DAWs for noise reduction, EQ, or advanced effects — you'd still use Audacity, Adobe Podcast, or similar for those steps.
Option 2: Desktop Software (Full Control)
If you prefer offline processing or need more features:
- Audacity (Free): Manual silence trimming + loudness normalization via plugins
- Adobe Audition: Professional loudness radar and speech alignment tools
- Reaper: Highly customizable with JSFX plugins for LUFS metering
- Descript: AI-powered silence removal with text-based editing
Option 3: Hybrid Workflow (What I Recommend)
- Do heavy editing in your primary DAW (Audacity, Premiere, etc.)
- Use a specialized tool for final polish (silence removal + LUFS targeting)
- Export once, in your delivery format
This approach balances control with efficiency.
The Right Workflow, Start to Finish
Let me pull this all together into a clean sequence you can actually follow:
Step 1: Record in WAV or Lossless Format
Always start with an uncompressed source file. OBS can record in FLAC or WAV. Audacity records in WAV by default. Don't begin your process with a compressed file if you have any choice.
Step 2: Do Your Content Editing First
Cut your clips. Arrange your segments. Add music beds and B-roll. Finalize your timeline. Audio processing should be one of the *last* things you do — not the first. Get the content right, then worry about the audio.
Step 3: Process for Loudness & Pacing
Use your preferred method to:
- Remove dead air and awkward pauses
- Normalize to your platform's LUFS target (-14 for YouTube/Spotify)
- Ensure True Peak stays below -1dBFS to prevent clipping after platform compression
Step 4: Export for Your Platform
- YouTube: WAV or 320kbps MP3 (YouTube will compress it anyway, but start clean)
- Podcast platforms: 128kbps MP3 — standard, sufficient, universally accepted
- Archive: Always keep the WAV master file, no matter what you export for delivery
That's the whole workflow. It's not complicated. What makes it complicated for most people is not knowing which step matters most — and wasting time on the wrong variable.
Bitrate Myths Worth Killing Once and For All
Let me be direct about a few things I hear constantly from newer creators:
🔹 "Higher bitrate always sounds better."
Not if the source recording is bad. A 320kbps export of a poorly recorded cheap microphone in a reverberant room still sounds bad. Bitrate *preserves* quality — it doesn't *create* it.
🔹 "WAV is always better to upload to YouTube."
For music and detailed audio content, yes — start with WAV. For a talking-head YouTube video? The difference after YouTube's own encoding is genuinely negligible.
🔹 "I can hear the difference between 128kbps and 320kbps."
Maybe on studio reference headphones with a trained ear and a complex orchestral track. On consumer earbuds during a commute? Almost certainly not. And that's where your audience is listening.
The part that actually moves the needle: Consistent loudness, clean pacing, and a solid source recording. Bitrate optimization is a finishing touch, not a foundation.
Final Takeaway
Bitrate matters — but not as much as creators think, and almost never in the way they're actually worrying about it.
✅ For spoken word and YouTube content: 128kbps gets the job done
✅ WAV is your editing and archiving format — treat it that way
✅ 320kbps sits in a useful middle ground when music and complex audio are involved
What separates professional-sounding audio from amateur recordings isn't a bitrate number. It's pacing and consistent loudness.
🎯 Kill the dead air
🎯 Hit your LUFS target
🎯 Keep your bitrate reasonable for the platform
That's the entire formula — and now you know exactly how to execute it.
Transparent Disclosure: The author is the Founder of Audio Forge Pro. Recommendations reflect genuine relevance to this topic. Core audio processing is free with no login required.
Master Your Sound Today
Join the new era of content creation. Pro-grade AI audio tools. Free to start. No signup needed.
Launch Audio Forge Pro — FREE