The Secret to Viral YouTube Shorts Audio: Pacing, Clarity, and Retention (2026 Edition)
Guide #14 | Author: M Zeshan | Category: Content Strategy | Published: 2026-02-01
You shot the perfect vertical clip. The lighting was warm, the framing was flawless, and your hook was sharp enough to stop a thumb mid-scroll. You uploaded it as a YouTube Short, sat back, and waited. Then, the analytics told a brutal story: viewers swiped away in the first few seconds. What went wrong? Almost always, the answer is audio.
Most creators obsess over resolution, color grading, and transition timing. Yet, it is the invisible layer of sound that determines whether someone stays or swipes.
The first three seconds of a Short represent the swipe or stay window. If a Shorts retention curve shows a sharp drop in that opening moment, the opening frame and the first spoken words are not earning the viewer's attention. Harsh room echo, clipping vocals, or a low hum from a cheap microphone will trigger that instinctive swipe faster than any shaky camera angle ever could.
Audio is much more important than video when it comes to the experience people have on YouTube. You can live with flaws in the video, but not a bad audio experience, as that alone makes the content unwatchable.
This guide breaks down the science, hardware, workflow, and troubleshooting behind studio-grade Shorts audio in 2026, ensuring your next upload has every possible chance of going viral.
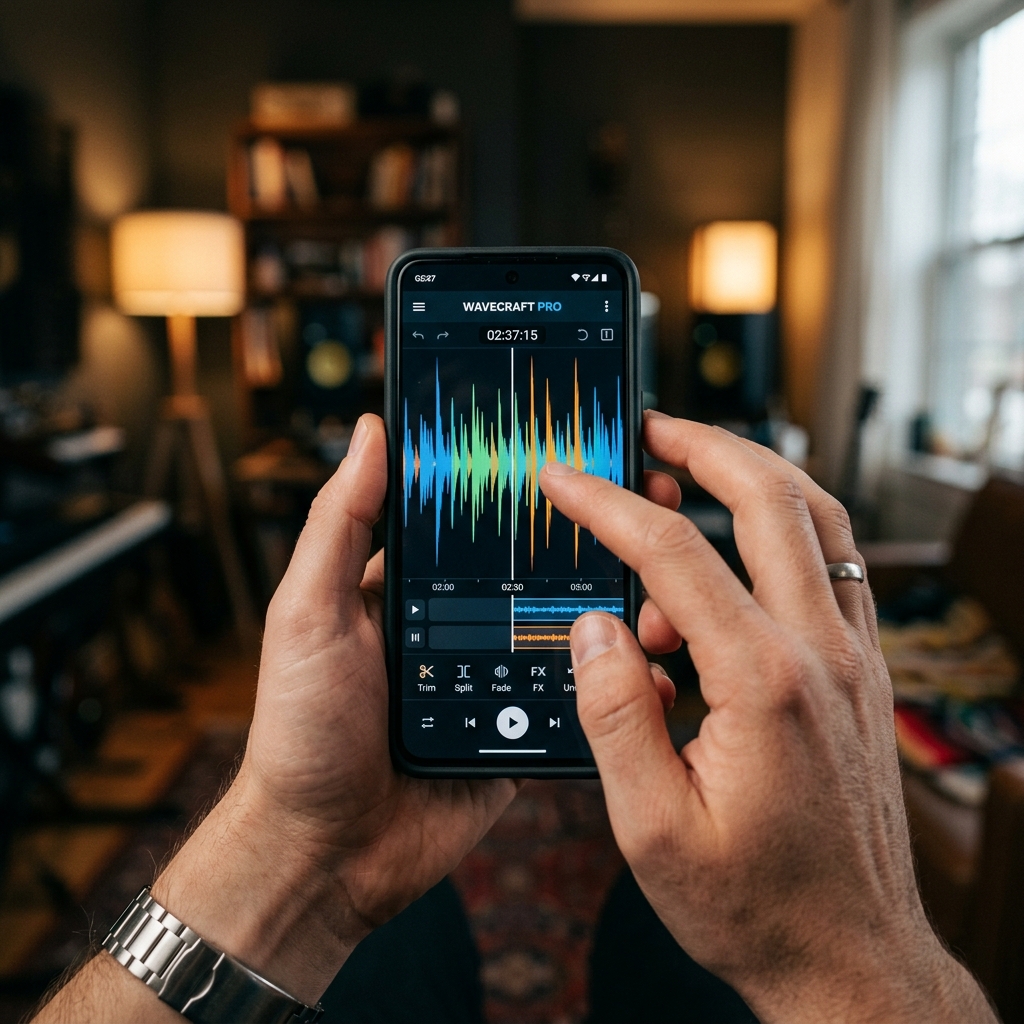
A side-by-side audio waveform showing raw, unprocessed voice versus a cleaned and normalized vocal track ready for YouTube Shorts.
1. The Psychology of Sound in Short-Form Content
Why Your Brain Trusts Ears Before Eyes
Understanding why audio matters so much starts with understanding how the human brain processes sensory information. Recent studies indicate that the human brain processes auditory stimuli more rapidly and profoundly than visual stimuli, both cognitively and emotionally.
The faster activation of neural responses triggered by audio, compared to visuals, can directly sway viewers' judgments and decisions unconsciously. In the context of a YouTube Short, this means a viewer's brain has already formed an opinion about your content based on what it heard before it has fully registered what it saw.
This is not a marginal difference. Fast-paced audio triggers dopamine surges, and a 2022 study found that trending sounds on platforms like TikTok increase dopamine levels by 35% more than regular music.
When your vocal track is crisp, well-paced, and free of distracting artefacts, the viewer's reward system engages. When it is muddy or echoed, the brain interprets it as low value and prompts a swipe.
Pacing: The Invisible Retention Weapon
Pacing is not simply about talking fast. It is about information density per second — delivering the right amount of value with zero wasted space.
Clean framing and controlled pacing allow the brain to absorb information efficiently. Sound design matters as much as visuals: clear audio quality, consistent volume levels, and intentional pauses create rhythm.
In 2026, the YouTube Shorts algorithm is laser-focused on completion and rewatch rates. For a Short to truly explode, you often need over 100% retention, meaning people are rewatching it.
Videos with a loop effect, where the end flows perfectly back into the beginning, are dominating the feed, because YouTube sees that elevated retention and pushes the content to millions.
A well-paced vocal track with deliberate micro-pauses is essential to this loop effect. Silence can function as a retention tool when used strategically. Pauses signal importance and allow viewers to mentally organize information.
The key takeaway: do not fear silence, fear dead air. Dead air is unintentional, awkward silence caused by umms, breath gaps, or flubbed transitions. Strategic silence is the opposite: a brief beat that gives the listener's brain permission to absorb what it just heard before the next idea arrives.
Dead Air: The Silent Killer of Engagement
Dead air in a YouTube Short is the single most underestimated retention killer. Even half a second of empty, purposeless silence in a 30-second clip represents roughly 1.5% of your total run time.
How quickly viewers exit your Short functions as a negative signal to the algorithm. Removing dead air through silence trimming and jump-cut editing is a non-negotiable step in any serious Shorts workflow.
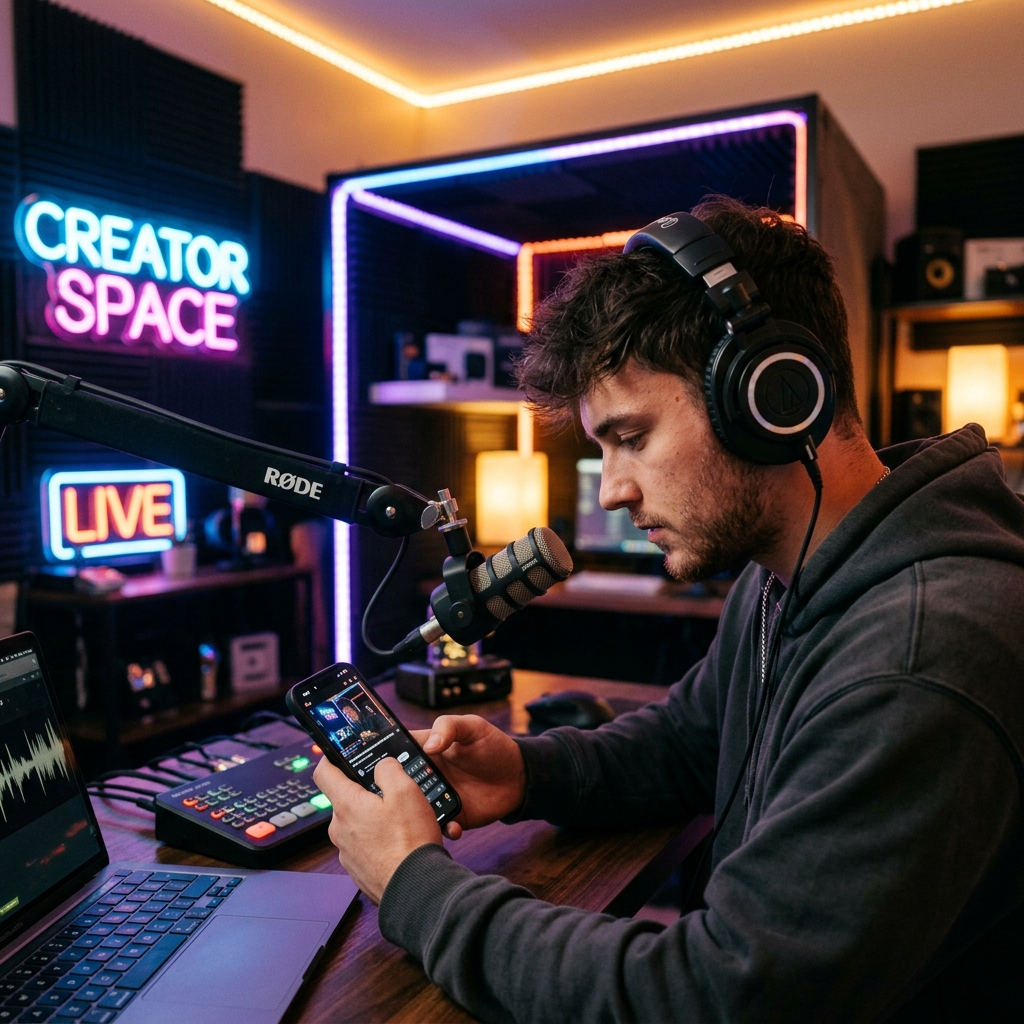
A continuous, flawless vocal delivery keeps viewers locked in.
2. Hardware and Environment: Big Sound on Any Budget
Microphone Selection Matters More Than You Think
You do not need to spend hundreds of dollars on a microphone to get clean Shorts audio, but you absolutely need something better than your laptop's built-in mic. Here is a quick breakdown by budget:
- Budget tier ($20–$60): A clip-on lavalier microphone connected to your phone is the single best investment for a new creator. Brands like RØDE offer affordable wireless lav systems that deliver remarkably clean vocal capture for the price.
- Mid-range tier ($100–$250): USB condenser microphones such as the RØDE NT-USB Mini or the Audio-Technica AT2020USB+ offer studio-quality recording directly into a computer with no audio interface required.
- Professional tier ($350+): The Shure SM7B remains the industry benchmark. This legendary dynamic microphone delivers smooth, warm vocals every time. It requires an XLR interface and sufficient gain, but the results speak for themselves.
Mic Placement: The One Rule Everyone Ignores
Regardless of budget, one principle trumps everything: get the microphone as close to the sound source as physically possible.
Prioritize getting the mic as close to the subject as you can. Every additional foot of distance between your mouth and the microphone introduces more room noise, more reverb, and a weaker signal.
For talking-head Shorts, position your mic 4–8 inches from your mouth, slightly off-axis (aimed at the corner of your lips rather than dead centre) to minimize plosive pops from "P" and "B" sounds.
Room Treatment Without a Budget
You do not need acoustic foam panels to achieve clean recordings. Here are three zero-cost tricks professionals use:
- Record in a closet. Hanging clothes act as remarkably effective sound absorbers, dampening reflections and room reverb.
- Use a blanket fort. Draping a thick blanket over a mic stand or open shelf behind and above your microphone creates a rudimentary vocal booth.
- Choose the smallest, softest room. Avoid kitchens, bathrooms, and large empty rooms. Carpeted bedrooms with curtains and soft furniture are natural sound dampeners.
The principle is simple: hard surfaces reflect sound; soft surfaces absorb it. Control the reflections before they reach your microphone, and you will cut your post-production cleanup time in half.
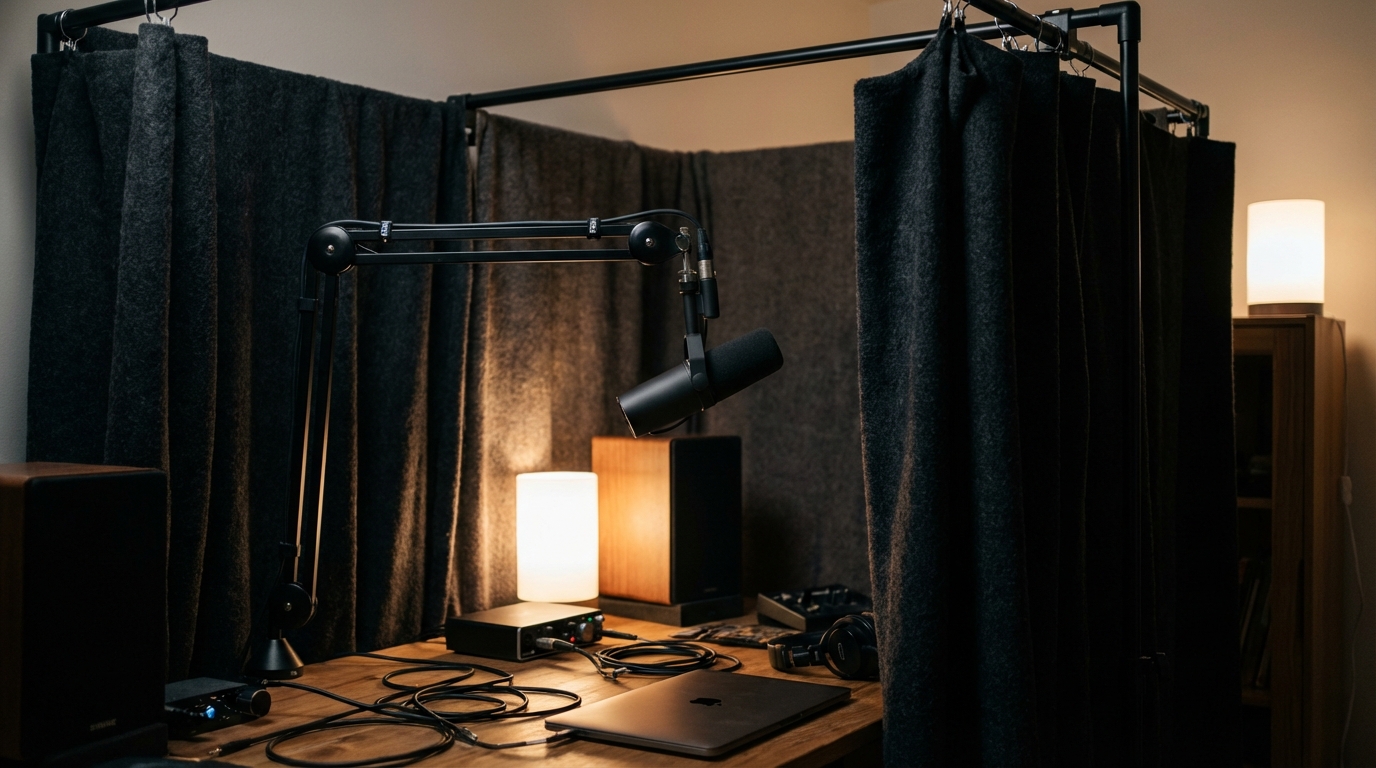
A simple DIY home recording setup showing a microphone surrounded by soft materials for sound absorption.
3. The Workflow: Tools and Methods for Fixing Shorts Audio
The Built-In Mobile Approach
Many mobile creators rely on built-in features offered by editing apps like CapCut. CapCut offers automatic loudness normalization that can provide some improvement for casual recordings.
However mobile tools have inherent limitations. They typically apply one-size-fits-all algorithms that do not account for the specific needs of spoken word content. They also offer limited control over pacing and dynamic range.
Desktop DAWs: Power at a Cost
On the desktop side tools like Audacity and Adobe Audition offer granular control over audio processing. You can manually cut silence adjust levels and normalize loudness.
The trade-off is time and complexity. Learning to properly chain effects like silence removal EQ compression and normalization takes practice. For a creator producing three to seven Shorts per week the hours spent in a full desktop DAW can become unsustainable.
Cloud-Based Audio Processing: The 2026 Sweet Spot
This is where cloud-based AI audio tools have reshaped the workflow. Rather than downloading heavy software creators upload a raw file let a cloud engine process it and download a polished result in seconds.
Among the tools in this category AudioForge Pro stands out as a purpose-built free browser-based tool specifically designed for video creators and podcasters who need professional silence removal and loudness normalization without heavy desktop applications.
Its defining advantage is blazing-fast browser-side processing speed which allows creators to process a raw recording and receive a cleaned-up file in a fraction of the time that traditional desktop workflows require. Your files never leave your device. AudioForge Pro focuses on two essential tools: removing dead air through intelligent silence removal and achieving perfect minus 14 LUFS loudness for YouTube compliance.
Transparent Disclosure: The author is the Founder of Audio Forge Pro. Recommendations reflect genuine relevance to this topic. Core audio processing is free with no login required.
It is worth noting that cloud tools work best as a complement to good recording practices, not a replacement. The golden rule remains: capture the best possible audio at the source, then use processing tools to refine it.
4. Troubleshooting the Five Most Common Audio Mistakes
Even experienced creators fall into these traps. Here is how to identify and fix each one.
1. Clipping and Digital Distortion
What it sounds like: Harsh, crackly audio that sounds broken at loud moments.
Why it happens: Your recording levels are too hot. The signal exceeds 0 dBFS (decibels relative to Full Scale), and the peaks are literally being chopped off.
The fix: Record with your peaks hitting between -12 dB and -6 dB. This provides ample headroom for loud moments without risking distortion.
2. Over-Compression
What it sounds like: A flat, lifeless, radio announcer from the 1990s quality where everything is the same volume and the voice feels unnatural.
Why it happens: Applying too much compression in an attempt to make the audio louder squashes the natural dynamic range of your voice.
The fix: Use gentle compression ratios (2:1 to 4:1 for voice), set a moderate threshold, and always A/B compare your compressed track.
3. Overly Aggressive Silence Removal
What it sounds like: Syllables being chopped off at the beginning and end of words creating an unnatural staccato effect. Words sound cut off and the pacing feels robotic.
The fix: Use AudioForge Pro's default settings which preserve natural speech tails. The 35ms Leading Pad and 60ms Trailing Pad ensure words enter and exit naturally. If using manual editing leave more buffer around speech segments.
4. Mismatched Audio Levels
What it sounds like: The viewer constantly adjusting their phone volume because your voice is far quieter or louder than the previous Short.
The fix: Target -14 LUFS integrated loudness on every export. This is the standard YouTube normalizes to.
5. Ignoring Sibilance
What it sounds like: Piercing, hissy "S" and "T" sounds that are painful on earbuds.
The fix: Apply a de-esser plugin targeting the 5kHz–9kHz range. Alternatively, angle your microphone slightly off-axis.
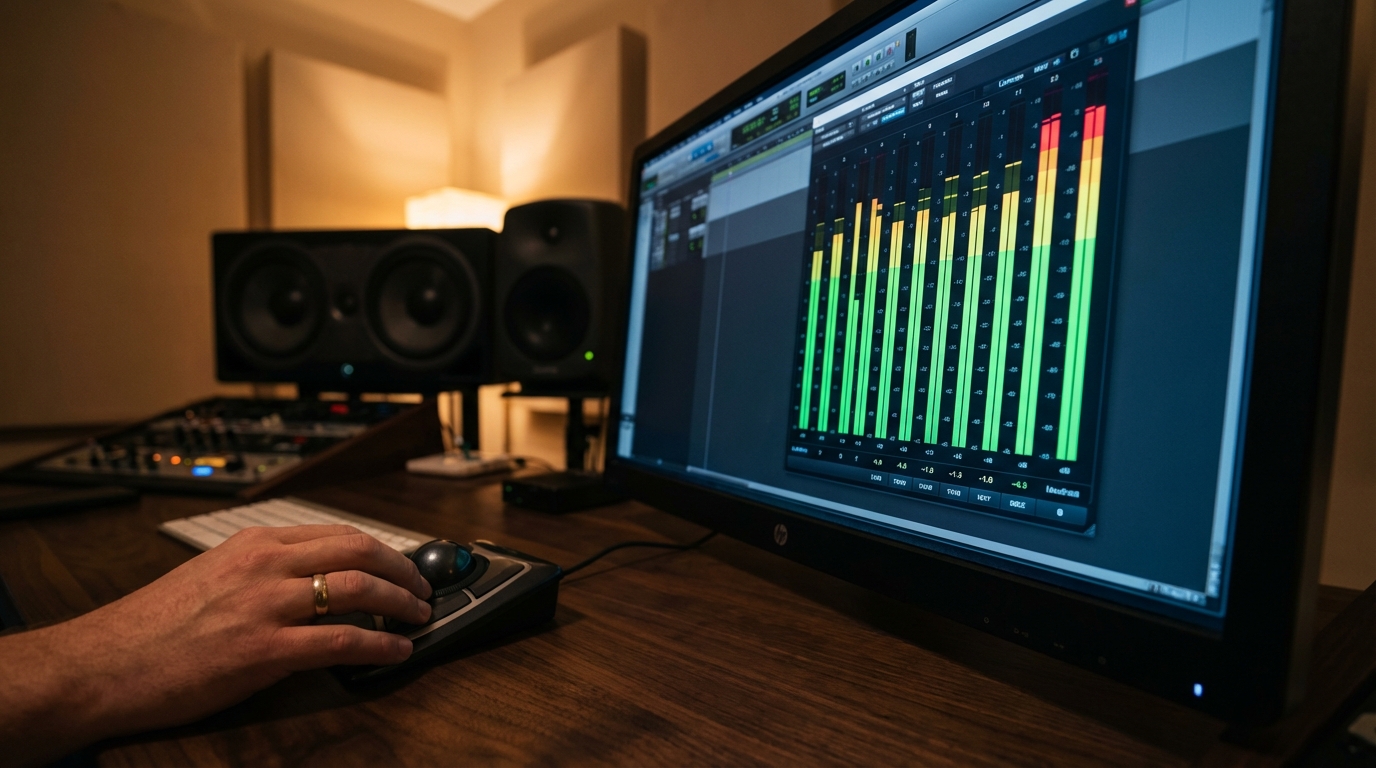
A LUFS loudness meter displaying the recommended -14 LUFS integrated target for YouTube audio normalization.
5. Frequently Asked Questions
Question: Does audio quality actually affect YouTube Shorts performance in the algorithm?
Answer: Yes, indirectly but powerfully. The YouTube Shorts algorithm does not directly analyze your audio waveform for quality. However, from an algorithmic perspective, quality equals how viewers react. Poor audio leads to faster swipes, sending negative signals.
Question: What is the ideal loudness level for YouTube Shorts?
Answer: Achieving professional, consistent audio levels is crucial. The recommended target is -14 LUFS integrated, which aligns with YouTube's internal normalization standard. You can measure LUFS using free tools like Youlean Loudness Meter.
6. Final Verdict: Sound Is the Invisible Algorithm
If there is one principle to carry away from this guide, it is this: audio is the invisible hand that guides every algorithmic outcome on YouTube Shorts in 2026.
The path to viral Shorts is not paved with expensive cameras or flashy transitions. It is built on crisp vocal clarity, intentional pacing, zero dead air, and technically sound loudness levels. Whether you achieve that through a professional XLR setup, a well-placed lavalier mic on your phone, or a fast cloud-based tool like AudioForge Pro that handles the heavy lifting for you, the destination is the same.
Record clean. Edit smart. Respect the listener's ears. The algorithm will do the rest.
Transparent Disclosure: The author is the Founder of Audio Forge Pro. Recommendations reflect genuine relevance to this topic. Core audio processing is free with no login required.
---
Take it Further: Now that you have mastered pacing, learn the Science of Why Audio Quality Matters More Than Video to understand the psychological edge it gives you.
Master Your Sound Today
Join the new era of content creation. Pro-grade AI audio tools. Free to start. No signup needed.
Launch Audio Forge Pro — FREE