I Wish I Knew This Sooner! — Audio Editing Hacks for New Creators
Guide #23 | Author: M Zeshan | Category: Audio Editing | Published: 2026-05-31
In the bustling world of digital content creation, where dazzling 4K visuals, intricate color grading, and flashy transitions often steal the spotlight, there is an unsung hero working tirelessly behind the scenes: audio. Whether you are launching a new podcast, building a YouTube channel, recording your first indie film, or even just trying to level up your Zoom presentations, the quality of your audio will unequivocally make or break your content.
A visually stunning video with poor, echoing, or distorted audio is almost always abandoned by viewers within the first few seconds. On the flip side, a simple, visually static video with crystal-clear, expertly edited audio can captivate an audience for hours. This is not just about being merely audible; it is about establishing professionalism, fostering engagement, and building deep trust with your audience.
For new creators, stepping into the world of audio editing can feel like trying to pilot a spaceship. The sheer volume of jargon—LUFS, compression thresholds, EQ sweeps, gain staging—combined with intimidating software interfaces can be incredibly overwhelming. Many veteran creators look back on their early days and wish they had known a few core tricks that would have saved them countless hours of frustration.
This comprehensive, deep-dive guide is designed to be that essential resource. We are going to unpack the most powerful, actionable audio editing hacks that will not only save you precious time but will dramatically elevate the quality of your audio, ensuring your content cuts through the noise of a crowded digital landscape.
The Foundation: Why Audio Quality Holds Immense Psychological Power
Before we dive into the technical hacks, it is crucial to understand *why* audio quality is non-negotiable. Human brains are incredibly sensitive to sound, evolutionary hardwired to detect nuance, emotion, and threat through audio cues. Distorted, noisy, or highly inconsistent audio is psychologically jarring. It forces the brain to work harder to understand the message, leading to rapid listener fatigue.
Conversely, clean, rich, and well-balanced audio creates a seamless, immersive experience. It allows your audience's brain to relax and fully absorb your message without friction. Think of it this way: audiences will readily forgive a slightly blurry or poorly lit video if the story is good, but they will ruthlessly click away from a video with piercing, muffled, or echoing audio. Investing time in these hacks is an investment in your audience's comfort and your brand's credibility.
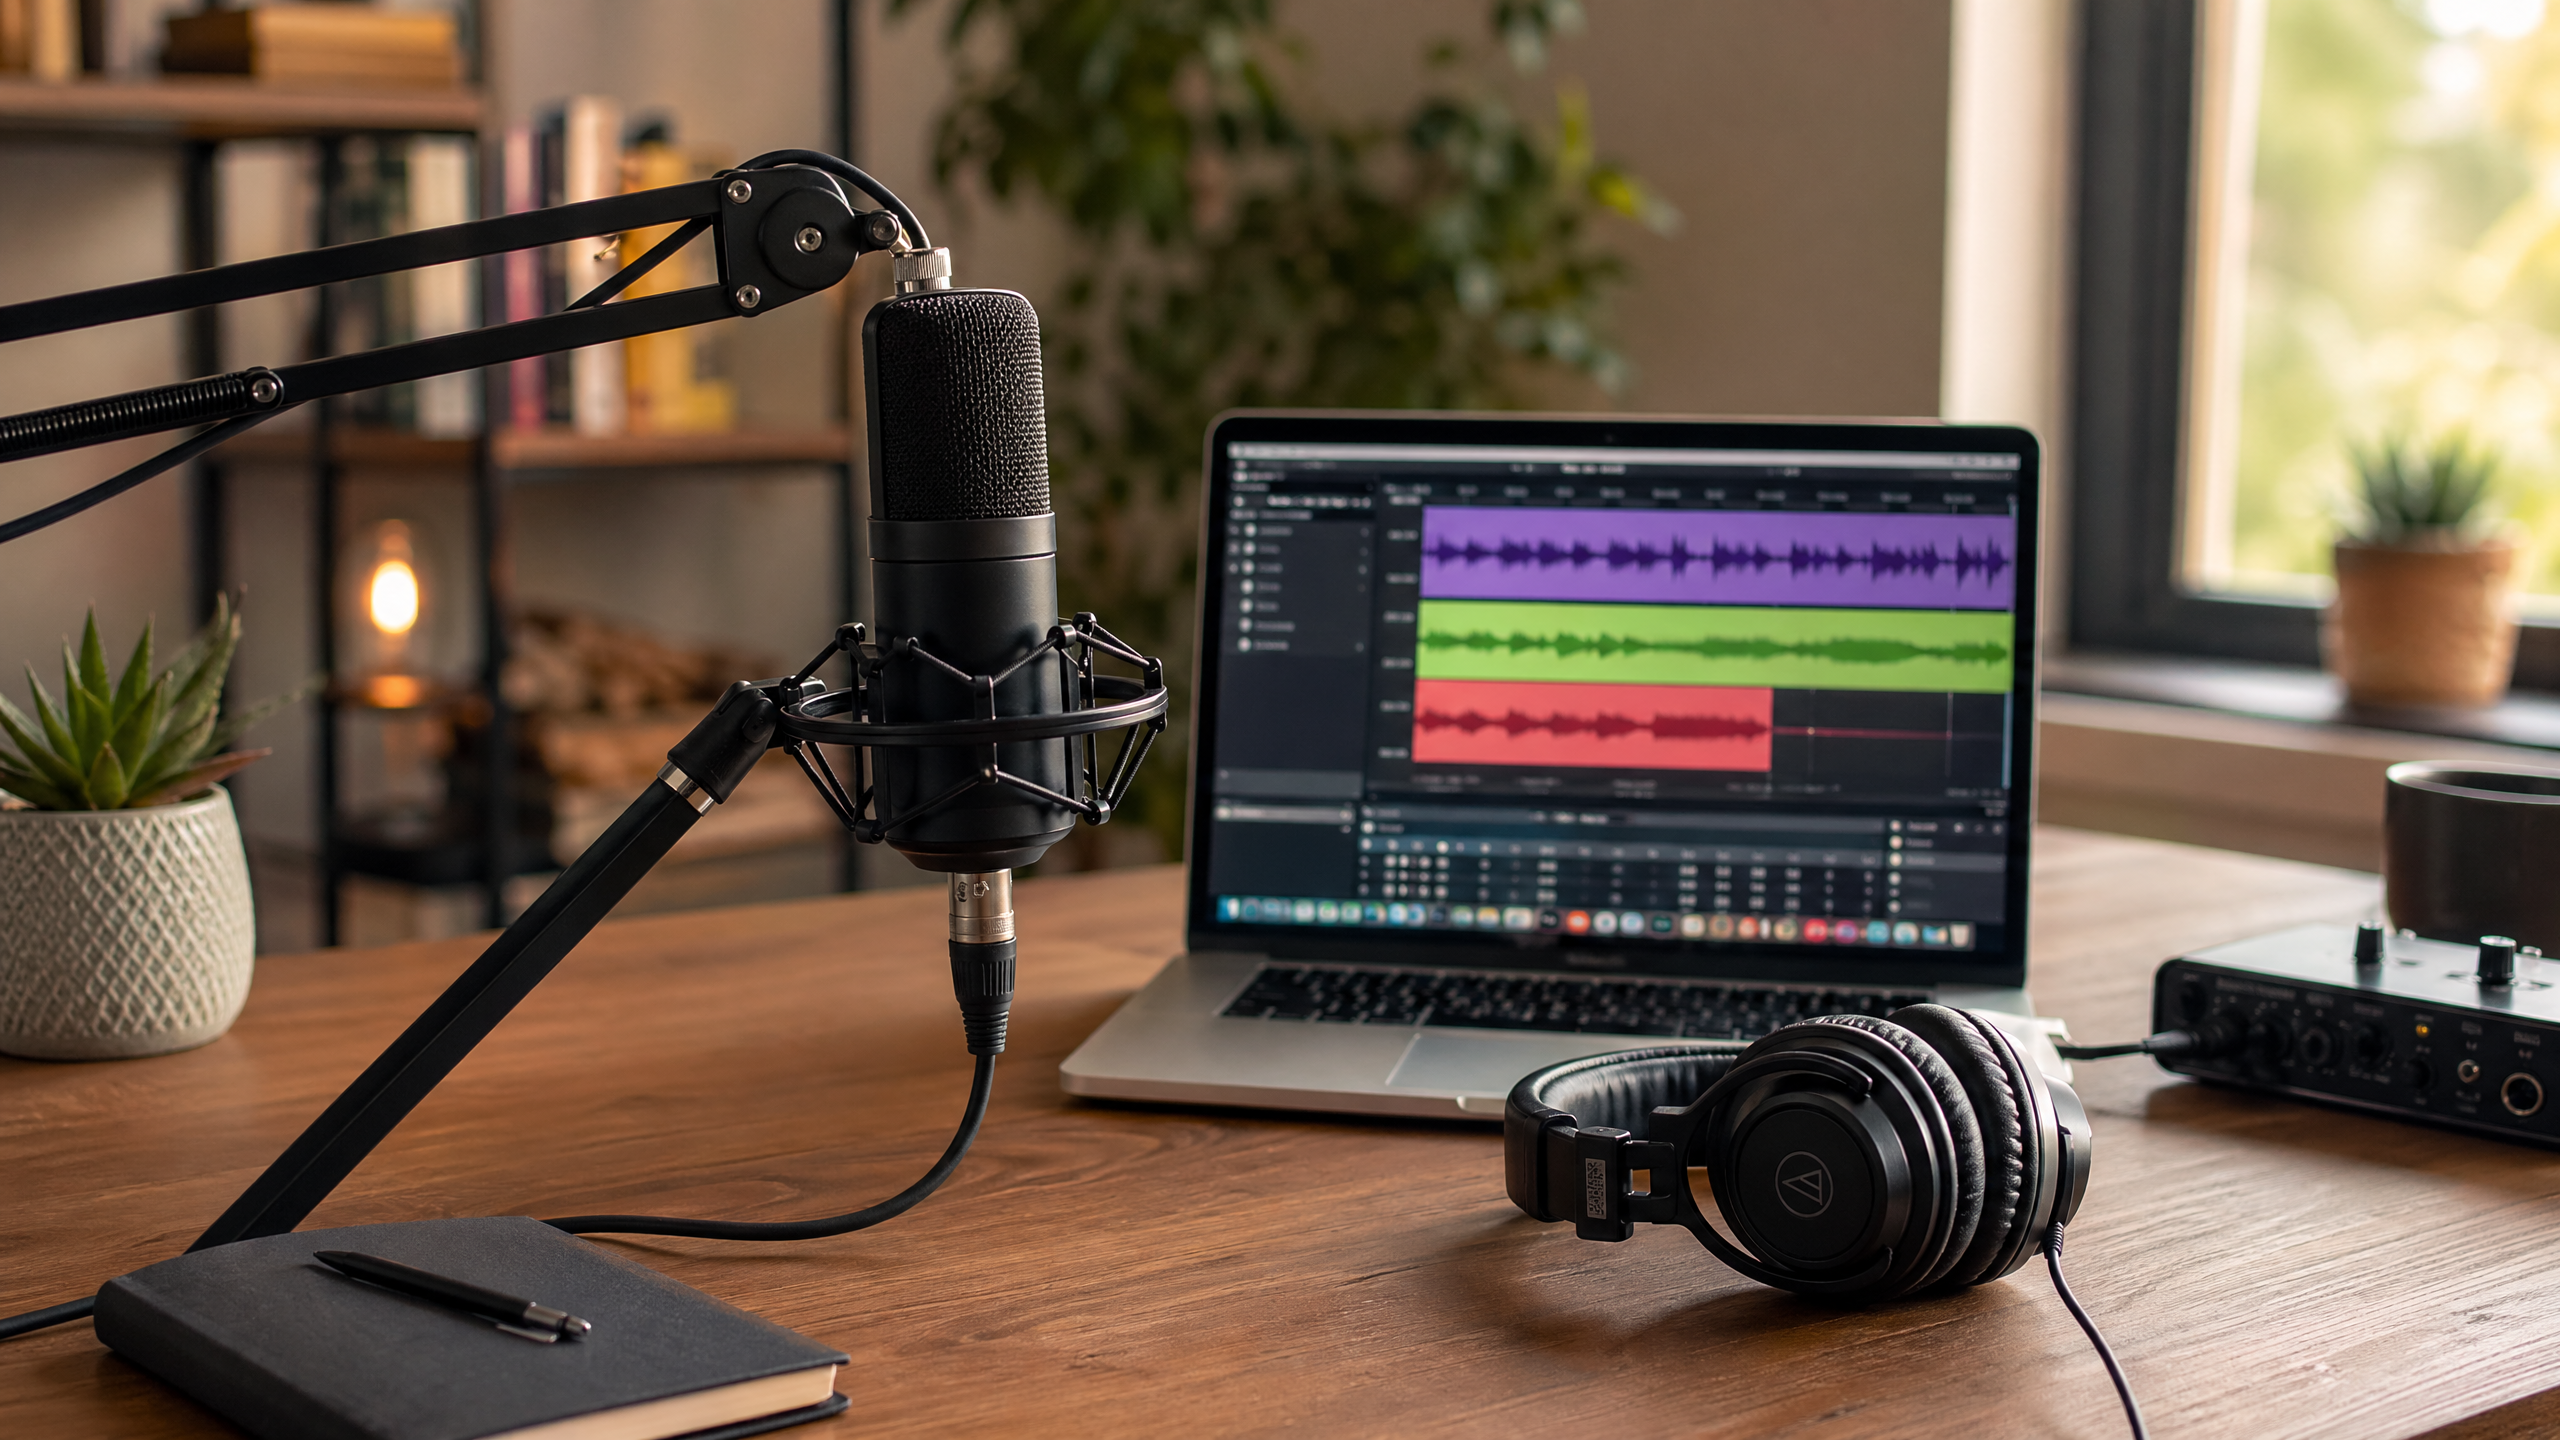
A professional home studio setup is the foundation of high-quality audio, but editing is where the real magic happens.
Hack 1: The "Before You Even Start" Secret – Mastering Room Tone
This is perhaps the single most overlooked yet profoundly impactful hack for any new creator. Room tone is the natural, ambient sound of your specific recording environment when absolutely no one is speaking and no intentional noise is being made. It is not digital silence; true silence rarely exists anywhere outside of a specialized vacuum chamber.
Every single room on earth has a unique sonic fingerprint. It might be a subtle hum from a refrigerator three rooms away, a distant whir of an HVAC system, the faint rustle of air moving through the vents, or the low rumble of outside traffic. When you record, your microphone captures this fingerprint underneath your voice.
The Problem: When you are editing your audio, you will inevitably need to cut out mistakes, excessive 'umms', long awkward pauses, or unwanted sudden noises like a cough or a passing siren. If you simply delete that bad section and pull the remaining clips together, or leave a gap of absolute digital silence, the listener will hear the background noise suddenly drop out and come back. This 'pumping' of background noise is incredibly jarring and immediately marks the audio as amateur.
The Solution: Recording 30 to 60 seconds of pure room tone *before* you even start speaking is a massive game-changer. You hit record, sit perfectly still, don't shuffle papers, don't breathe heavily, and just let the mic record the 'silence' of the room.
How to Use It: When you make a cut to remove a mistake, you don't leave digital silence. Instead, you copy a small snippet of your recorded room tone and paste it into the gap. This maintains a continuous, unbroken bed of natural background ambiance, making your edits completely invisible to the listener. It is the audio equivalent of blending foundation in makeup—it smooths out the rough edges and creates a flawless, undetectable finish.
Hack 2: The Invisible Edit – Advanced Fades and Crossfades
If room tone is the foundation of a good edit, fades and crossfades are the invisible mortar that holds the bricks of your audio together. A very common and fatal mistake beginners make is simply taking the razor tool, cutting an audio clip, and placing it directly next to another clip.
The Problem: Because audio travels in waveforms (peaks and valleys of voltage), cutting a clip at a random point often means you are cutting the wave when it is above or below the zero-crossing line. When the speaker's playback system suddenly jumps from zero to a high voltage point on the new clip, it produces a tiny, sharp, highly irritating "click" or "pop" sound.
The Micro-Fade Hack: To entirely eliminate these editing clicks, you must use micro-fades. A fade-in gradually increases the volume from zero to the clip's natural level over a set time, while a fade-out does the reverse. We aren't talking about long, dramatic cinematic fades. A micro-fade lasts only a few milliseconds—typically 5ms to 10ms. Applying a 5ms fade to the beginning and end of *every single clip* you slice ensures a mathematically smooth transition of voltage, completely eliminating pops.
The Crossfade Technique: When you are joining two clips directly together (for example, removing a flubbed word and connecting the two good takes), a micro-fade isn't enough; you need a crossfade. A crossfade simultaneously fades out the end of the first clip while fading in the beginning of the second clip, blending them perfectly.
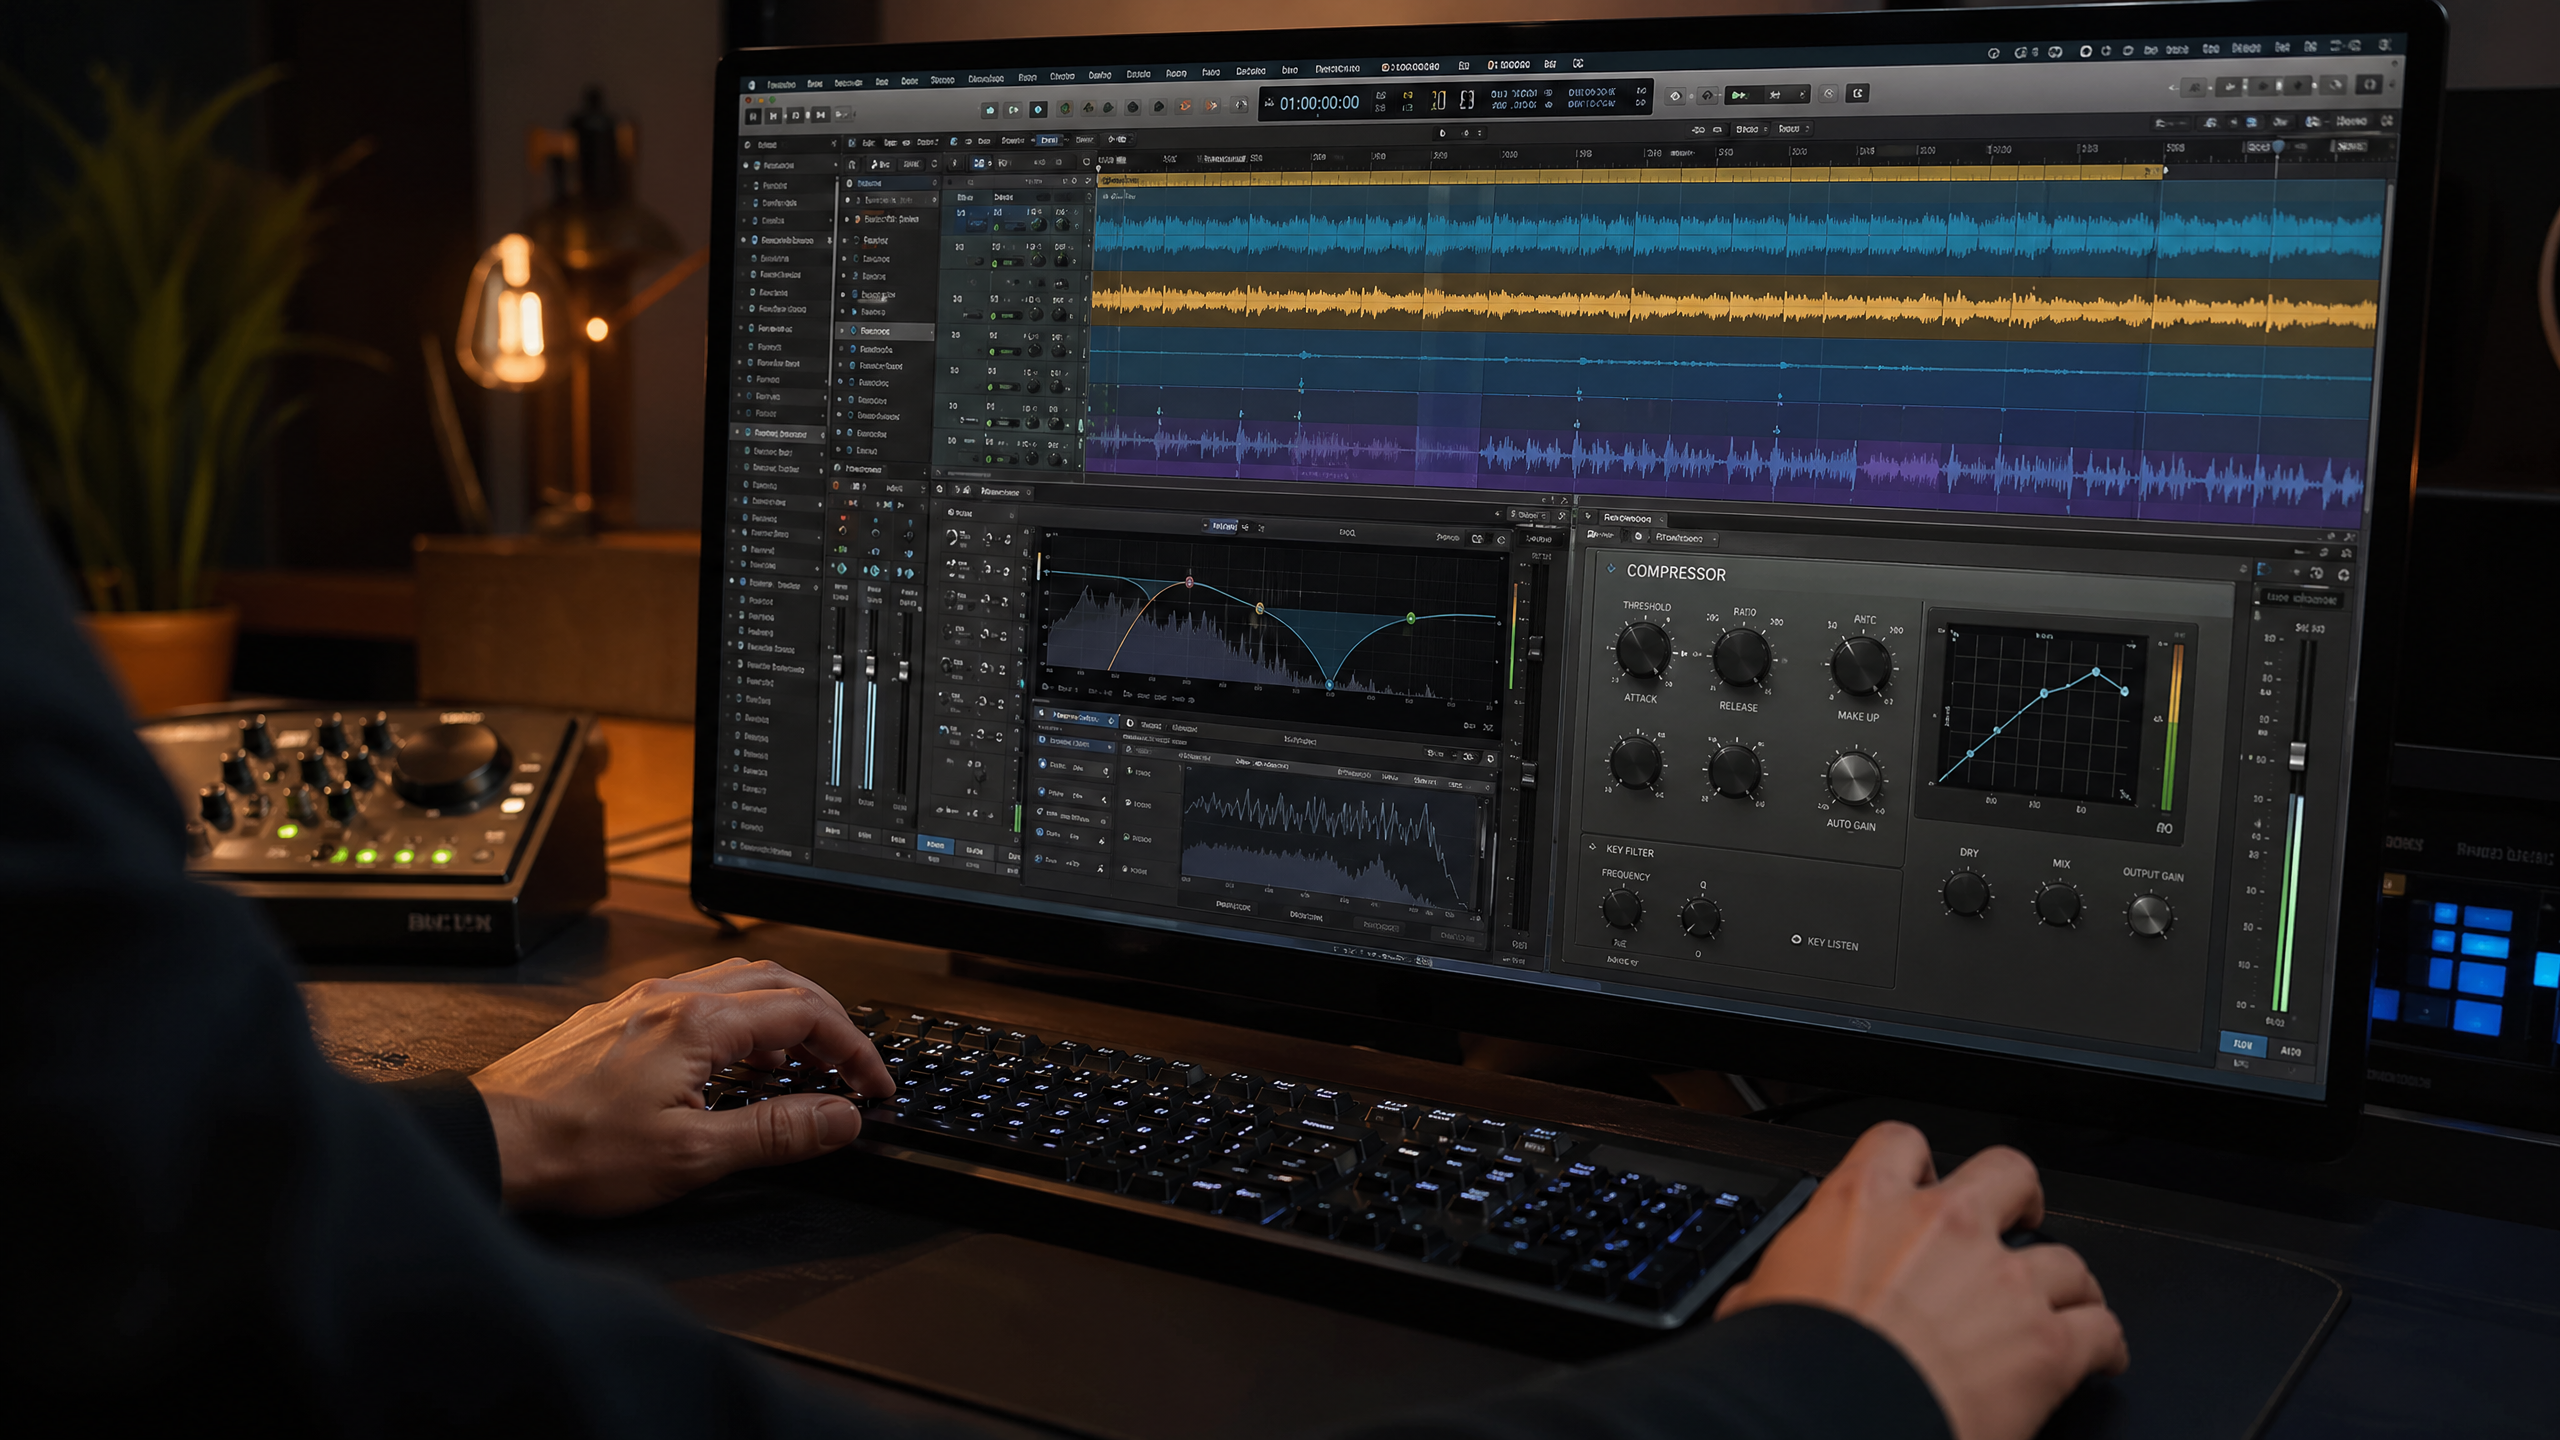
Precision editing requires focus, zooming in close on waveforms, and applying proper crossfades to ensure seamless transitions.
Hack 3: The "Magic Wand" – Demystifying EQ (Equalization)
Equalization, or EQ, is usually the most intimidating tool for beginners. You open the plugin, and it looks like a complex scientific graph with numerous knobs, bells, and sliders. However, understanding a few core principles turns EQ from a nightmare into your most powerful weapon for shaping the tone and clarity of your voice.
EQ simply allows you to turn up (boost) or turn down (cut) the volume of specific frequencies within your audio. It helps you carve out mud, reduce harshness, and enhance the pleasing aspects of a voice.
The Essential High-Pass Filter (HPF): The very first thing you should do with 99% of vocal recordings is apply a High-Pass Filter (also known as a low-cut filter). This filter allows high frequencies to pass through untouched while severely cutting off low frequencies. Most vocal recordings contain invisible low-end rumble—air conditioning hum, heavy truck traffic outside, or the 'proximity effect' (the booming bass boost that happens when you speak too close to a mic). Set your HPF to roll off everything below 80Hz to 100Hz. This instantly cleans up the "mud" without thinning out the actual human voice.
The "Sweep and Destroy" Technique: Sometimes your recording has a specific, highly annoying resonance—maybe a harsh ringing sound or a "boxy" tone that sounds like you are speaking inside a cardboard box. To fix this, use the 'Sweep and Destroy' method:
- Boost: Take one band of your EQ, make it very narrow (high 'Q' value), and boost it aggressively by +10dB.
- Sweep: Slowly drag that boosted band left and right across the frequency spectrum while the audio plays.
- Identify: When that annoying ringing sound suddenly becomes overwhelmingly loud and unbearable, you have found the exact problem frequency.
- Destroy: Now, reverse the boost. Cut that frequency by -3dB to -6dB to surgically remove the harshness.
The "Air" Polish: To give your voice that expensive, NPR-style radio polish, apply a very subtle boost (1 to 2 dB max) using a "high-shelf" filter around 10kHz to 12kHz. This adds "air" and crisp articulation, making the voice sound more present and intimate.
Hack 4: Taming the Beast – Compression Explained Simply
If EQ is about shaping the *tone* (the color of the sound), compression is entirely about controlling the *dynamics* (the difference between the loudest and quietest parts of your audio).
A raw, unedited vocal recording is highly dynamic. You might whisper the beginning of a sentence for dramatic effect and then laugh loudly a moment later. This extreme dynamic range is exhausting for a listener; they have to constantly turn their volume dial up to hear the whispers and quickly turn it down so the laughs don't hurt their ears.
A compressor acts as an automatic volume knob. It waits for the audio to get too loud, and then it automatically turns it down instantly. This allows you to then raise the overall volume of the entire track, bringing the quiet whispers up so they are clearly audible, without the loud laughs clipping or distorting.
Beginner Compressor Settings Cheat Sheet:
- Threshold: Set this so the compressor only engages during the loudest peaks of your speech. (Usually between -15dB and -20dB depending on your input).
- Ratio: This is how hard it clamps down. For natural-sounding vocals, use a ratio of 3:1 or 4:1. This means if the audio goes 4dB over the threshold, the compressor only lets 1dB through.
- Attack: How fast the compressor grabs the audio. Use a medium-fast attack (around 10ms to 15ms) to catch sudden spikes without killing the natural punch of consonants.
- Release: How fast it lets go. Set this around 100ms to 150ms so it releases naturally before the next word begins.

Using visual tools like spectrograms and gain reduction meters takes the guesswork out of applying compression and EQ.
Hack 5: The "Breath" Rule – Do Not Suffocate Your Audio
A very common and destructive mistake among new editors is the obsessive desire to hunt down and completely delete every single breath from a vocal recording. While it might seem logical to want a "perfectly clean" track, removing all breaths makes the speaker sound like a synthetic AI robot, or worse, someone who is literally suffocating.
Human beings breathe. It is a natural part of the rhythm and cadence of speech. Removing it completely creates subconscious anxiety in the listener.
The Pro Approach: Instead of deleting breaths, you must *manage* them. Use a technique called "clip gain" or volume automation. Simply highlight the breath and reduce its volume by -5dB to -10dB. This pushes the breath into the background—making it far less distracting—but keeps it present enough to maintain the natural humanity of the performance. Only completely cut a breath if it is an exceptionally loud, wet gasp that distracts from the core message.
Hack 6: The AI Revolution – Magic One-Click Enhancements
We are officially living in the golden age of audio technology. Artificial Intelligence is completely changing the landscape, especially for beginners who don't have perfect acoustic treatment or expensive microphones.
Tools like Adobe Podcast Enhance, Descript's Studio Sound, or the advanced neural networks inside iZotope RX can perform miracles. They analyze a recording made in a highly reverberant, noisy room, isolate the core human voice, mathematically rebuild missing frequencies, and strip away background noise, making it sound like it was recorded in a $10,000 vocal booth.
The Golden Rule of AI: Always use these tools in moderation. Most AI tools have a percentage slider (0% to 100%). Never leave it at 100%. A fully AI-processed voice often sounds slightly synthetic, underwater, or robotic. The sweet spot is usually between 60% and 80%. This gives you the massive benefit of noise reduction while retaining the organic texture of the original human voice.
Hack 7: Stop Normalizing, Start Gain Staging
Many beginners rely heavily on the "Normalize" function. Normalization simply scans the audio file, finds the single loudest peak, and mathematically turns the entire file up until that peak hits a specific target (like 0dB).
Why Normalization Fails: If you have one accidental loud desk bump in an otherwise quiet 30-minute recording, normalization will do absolutely nothing to make the voice louder, because the desk bump is already hitting the maximum ceiling.
The Secret is Gain Staging: Gain staging means managing your volume manually at every single step. Record your audio so your loudest peaks hit around -12dB to -6dB. Then, manually adjust the clip gain of quiet sections to match loud sections visually. Finally, use compression to glue it together. This manual, methodical approach achieves a massively superior, broadcast-ready sound compared to lazy normalization.
Hack 8: The "Fresh Ears" and "Car Test" Protocol
This is a psychological hack, not a technical one, but it is equally vital. When you spend three hours editing a podcast or video, listening to the exact same audio loops repeatedly, your ears experience severe "ear fatigue." You literally lose the physiological ability to hear harshness, mud, or volume imbalances accurately.
The Protocol: Never, ever finalize and publish a mix immediately after editing it. Step away from your computer. Go for a walk. Get a coffee. Ideally, sleep on it. When you return the next morning with "fresh ears," you will immediately notice glaring issues that you were completely deaf to the night before.
Finally, always do the Car Test. Studio monitors and expensive headphones flatter audio. To know if your mix truly translates to the real world, listen to your exported file on cheap earbuds, your smartphone speaker, and especially in your car. If it sounds clear, punchy, and balanced in a noisy car, it will sound incredible everywhere else.
Conclusion: The Journey from Amateur to Authoritative
Audio editing is an incredibly rewarding blend of technical science and creative art. The tools and techniques unpacked in this guide—from mastering the invisible art of room tone and micro-fades to wielding EQ and compression with confidence—are the foundational building blocks of professional, world-class sound.
However, simply reading about these hacks is only the first step. True mastery comes from spending time in the trenches: practicing, developing critical listening skills, and possessing a willingness to experiment and make mistakes. Train your ears to hear the subtle differences.
By consistently applying these advanced hacks, you will gradually but inevitably transform your audio from amateurish and distracting to authoritative and captivating. In the digital age, your voice is your most powerful, persuasive asset—take the time to make it sound its absolute best.
Transparent Disclosure: The author is the Founder of Audio Forge Pro. Recommendations reflect genuine relevance to this topic. Core audio processing is free with no login required.
Master Your Sound Today
Join the new era of content creation. Pro-grade AI audio tools. Free to start. No signup needed.
Launch Audio Forge Pro — FREE