
Natural Silence Removal: Padding, Fades and Mistakes — complete guide
Professional silence removal is an editing craft: shorten dead air while preserving breath, emphasis, room tone, and the natural space around each phrase. The difference between an amateur hard cut and a professional edit is usually padding and the shape of the join.
This guide focuses on threshold judgment, pre/post-roll padding, crossfades, and the mistakes that make speech sound robotic. Software steps and preset values live in our AI Silence Remover in the Browser workflow, while this page explains why the cuts sound natural.
These are the exact techniques used in broadcast radio, professional podcasts, and high-end video production. One important note before the numbers: the padding and fade values in this guide are for editing by hand in a DAW — Audacity, Premiere Pro, Reaper, or any editor that gives you threshold, padding, and fade controls. Automatic tools use smaller numbers, and I explain why below.
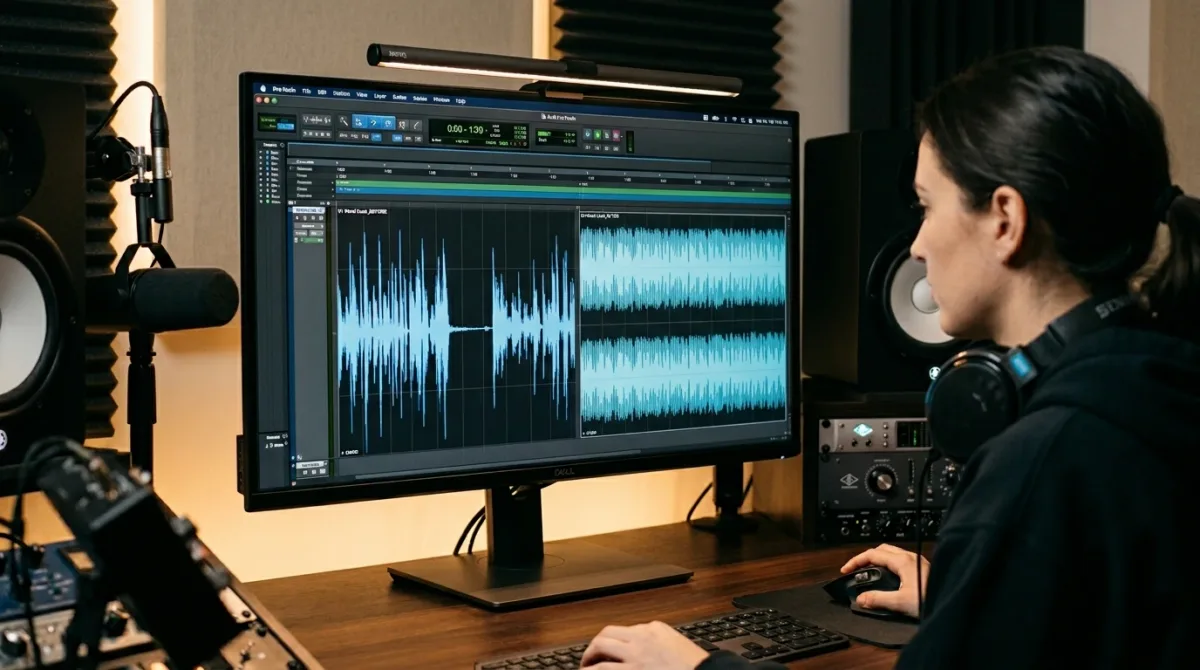
Understanding Why Silence Removal Matters
Every unnecessary pause in your audio costs you viewers. On short-form platforms, even a single second of dead air can make the stream look frozen; in a podcast, a long pause reads as hesitation instead of thoughtfulness. Your audience does not get a second take — it just re-records the moment in its head as 'that creator is slow.'
Think about your own viewing habits. When you watch a tutorial or listen to a podcast dead air creates frustration. You wonder if the video froze or if the speaker forgot what to say. That moment of confusion breaks engagement.
For content creators this translates directly to metrics. Videos with tight pacing and minimal dead air have better retention rates. Podcast episodes with clean editing get more completion rates. Online courses with professional audio see better student satisfaction scores.
But here is the critical point. Not all silence is bad. Strategic pauses help emphasize points. Natural breathing maintains authenticity. The goal is removing awkward dead air while preserving intentional silence.
The Problem with Basic Silence Removal Tools
Most free audio editors handle silence removal the same way. They ask you to set a decibel threshold then cut everything below that level. This approach creates three major problems.
First problem is threshold accuracy. Set it too high and you cut actual speech. Set it too low and you miss the silence you want to remove. Finding the right number requires trial and error for every single recording.
Second problem is word clipping. When you cut silence at exact speech boundaries you lose the natural breath before words start. You also lose the soft tail of sounds like s and t that trail below threshold levels. The result is speech that sounds chopped and artificial.
Third problem is unnatural pacing. Basic tools remove all silence equally. A thoughtful pause of three hundred milliseconds gets cut just like awkward dead air of three seconds. This removes the speaker's natural rhythm and makes everything feel rushed.
I have heard the results from these basic tools. Podcasts that sound like robots reading scripts. Tutorial videos where the instructor sounds anxious and breathless. Corporate training where every sentence snaps into the next with no breathing room.
How Professional Engineers Approach Silence Removal
Professional audio production uses a completely different methodology. Instead of one threshold setting professionals use multiple parameters working together. The result sounds natural because it preserves the human elements of speech. For a detailed comparison of real-time AI noise removal tools, see our Adobe Podcast Enhance vs Krisp comparison.
I learned these techniques working in broadcast radio then adapted them for podcast and video production. The same principles apply whether you are editing a thirty second TikTok or a three hour interview.
Five Technical Elements of Professional Silence Removal
Element One: Dynamic Threshold Detection
Instead of a fixed decibel threshold professionals use dynamic detection. The system analyzes your audio in twenty millisecond windows then calculates the average energy level.
The silence threshold becomes a percentage of that average typically three to five percent. This means the threshold automatically adjusts to your recording level and speaking style. Whispered sections get different treatment than loud enthusiastic speech.
A professional adaptive detector examines the entire file first, then sets appropriate thresholds from the actual recording instead of relying on one arbitrary number.
Element Two: Leading Pad Preservation
This is the most commonly ignored element in amateur editing. Before every spoken word there is a small moment of breath preparation. This might be two hundred milliseconds but it is essential for natural sound.
When you cut exactly at speech start points you remove that breath. The listener hears words starting from nowhere. It creates an abrupt artificial feeling like the speaker is being jolted awake for each sentence.
Professional editing preserves two hundred milliseconds before each speech segment. This captures the natural inhale and the microsecond of preparation before vocalization begins. The speech still starts cleanly but with proper human context.
Element Three: Trailing Pad Preservation
The end of words is equally important. Consonants like s t and f naturally trail off below audible thresholds. If you cut at the first moment of silence you lose these sounds entirely.
Try saying the word thoughts out loud. The ts sound at the end fades gradually. Cut exactly where speech stops and you get thou instead of thoughts. Multiply this across an entire recording and you get mushy unclear diction.
Three hundred milliseconds of trailing pad preserves these endings. The algorithm keeps audio slightly longer than the silence threshold would suggest. This ensures every word completes naturally before any cutting occurs.
Element Four: Minimum Silence Duration
This parameter solves the pacing problem. Instead of cutting every silence the system only removes silences longer than a specified duration.
Natural speech contains pauses between phrases. These pauses might be two hundred to four hundred milliseconds. They give listeners processing time and maintain the speaker's natural rhythm. Cut these pauses and speech becomes exhausting to follow.
A five hundred millisecond minimum means only true dead air gets removed. Pauses under half a second remain untouched preserving the speaker's authentic cadence while eliminating the awkward gaps that lose audience attention.
Element Five: Crossfade Smoothing
Even with proper padding audio waveforms do not always end at zero crossing points. When you join two audio segments at non zero points you create clicks pops and artifacts.
Professional editing applies a fifty millisecond crossfade at every join point. The outgoing audio fades down while the incoming audio fades up. This smooth transition eliminates all artifacts and creates seamless continuity.
Without crossfading your audio might sound clean on speakers but reveal annoying clicks when listeners use headphones. With proper crossfading the editing becomes completely invisible.
Why Automatic Tools Use Smaller Numbers Than You
You may have seen smaller values elsewhere — 35 ms leading pad, 60 ms trailing pad, 20 ms crossfade, a 220 ms minimum gap. Those are safe numbers for adaptive *automatic* silence removers: the detector has already learned your recording's noise floor, so it can trust short margins on every single cut. When you edit by hand, you are the detector, and your ears are the fallback. That is why manual edits carry longer pads and slower fades. The numbers are bigger, the craft is identical. If you would rather let software do the detection, the AI Silence Remover guide covers the exact browser settings, defaults, and four expert presets.
Comparison: Amateur vs Professional Silence Removal
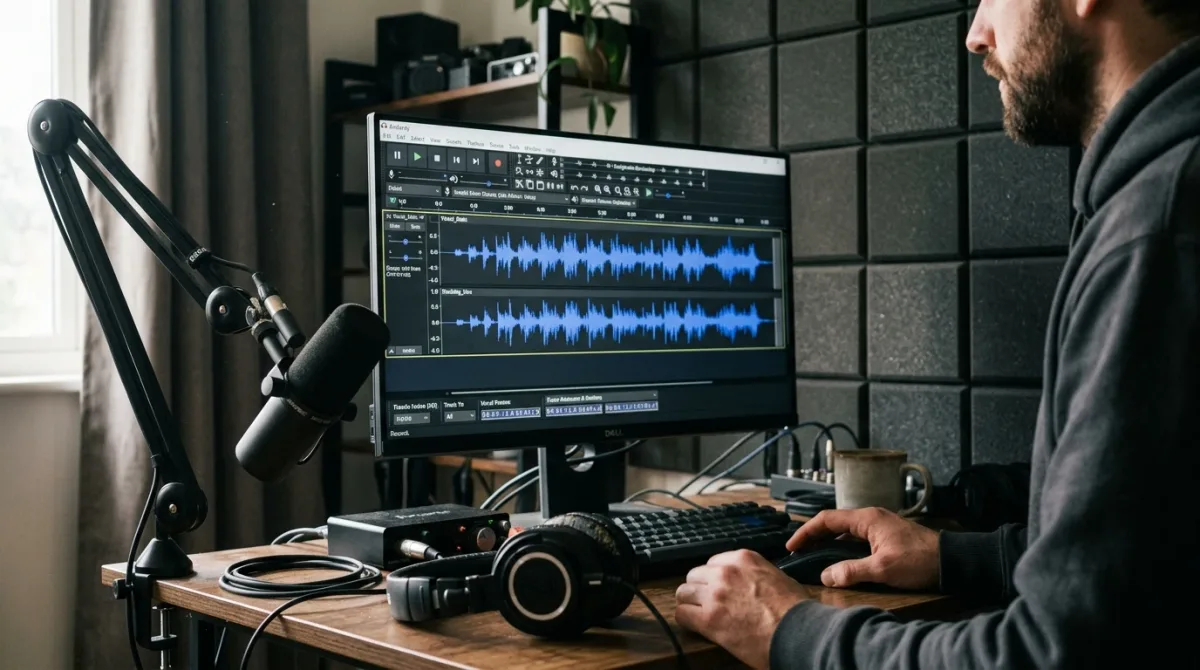
| Feature | Amateur Approach | Professional Craft |
|---|---|---|
| Silence Detection | One fixed threshold misses context | Adaptive detection follows the recording |
| Word Start Handling | Hard cut clips attacks and breaths | Pre-roll padding preserves the entrance |
| Word End Handling | Immediate cut loses consonant tails | Post-roll padding lets words finish |
| Natural Pauses | Every gap is removed equally | Intentional pauses remain in the performance |
| Join Quality | Hard joins create clicks and pops | Short crossfades smooth each edit |
| Result Quality | Robotic, clipped, and artificial | Natural, controlled, and consistent |
The difference is immediately audible. Basic tools create audio that sounds processed and artificial. Professional techniques create audio that sounds naturally paced just tighter and more engaging.
Common Mistakes When Removing Silence
After years of editing I see the same mistakes repeatedly. Here are the most common errors and how to avoid them.
Best Practices for Different Content Types
Different content requires different silence removal approaches. Here are my recommendations based on content category.
For podcasts use conservative settings. Preserve natural conversation flow and breathing. Podcast audiences value authenticity over tight pacing.
For tutorials use moderate settings. Remove obvious dead air while keeping instructional pauses that help viewers process information.
For short form video use tighter settings. Attention spans are shorter and pacing needs to be faster. But never sacrifice clarity for speed. For more on audio pacing for short-form content, read our guide on viral YouTube Shorts audio techniques.
For audiobooks use minimal processing. Listeners expect a relaxed pace and heavy editing destroys the reading experience.
The Five Elements, Mapped to Your Editor
The same five controls exist in every serious editor — only the menu names change. Here is where each element lives, with the safe manual-edit defaults from this guide:
| Element | Audacity | Premiere Pro (v24+) | Reaper (v7+) |
|---|---|---|---|
| Dynamic threshold | Effect → Remove Silence → Threshold (start near -40 dB, watch for clipped consonants) | Clip → Remove Silence → Silence Threshold | Remove Silence action → threshold |
| Leading pad | Pad before removed gaps — 100–200 ms | Fade duration on edit points — 100–200 ms | SWS pre-roll or nudge selection start back |
| Trailing pad | Pad after removed gaps — 150–300 ms | Fade duration on edit points — 150–300 ms | SWS post-roll or nudge selection end forward |
| Minimum gap | Remove gaps shorter than — 500 ms | Set via threshold so only real dead air qualifies | SWS minimum-silence — 500 ms |
| Crossfade | Fade in/out 20–50 ms on every join | 20–50 ms fade on each cut | 20–50 ms fades on both edges |
If your editor has none of these controls, the fallback is the same craft with a razor: split at the threshold, delete the gap, and fade both edges. Slower, but the result is identical — which is the point of this guide. Settings are interface-specific; the decision-making never changes.
Where the Audio Forge Pro Settings Workflow Lives
The browser workflow and preset-by-preset settings are covered in the companion software guide linked in the introduction. This craft guide deliberately stops at the decisions an engineer must make: which pauses carry meaning, how much pre/post-roll to preserve, and where a crossfade prevents a click.
Use those principles as a listening checklist in any editor: preview every join, compare it with the uncut performance, and undo any edit that clips a consonant or removes intentional room tone.
Final Thoughts
Professional silence removal is about respecting your audience's time while preserving your authentic voice. The goal is not creating robotic perfection but eliminating the dead air that loses attention.
After fifteen years in audio production I have learned that listeners forgive minor imperfections but they do not forgive boredom. Tight pacing keeps engagement high and makes your content feel professional.
Whether you produce podcasts videos or online courses the principles remain the same. Use dynamic detection preserve natural elements and apply smooth transitions. Your audience will notice the difference even if they cannot explain why.
When you are ready to apply these decisions in a browser, use the companion software guide linked in the introduction for the step-by-step workflow and preset values.
When the edit is done, the next stop is loudness. The YouTube LUFS normalization guide shows the exact target and true-peak ceiling to check before you export, so the platform never has to re-loudness your file.
Transparent Disclosure: The author is the Founder of Audio Forge Pro. Recommendations reflect genuine relevance to this topic. Core audio processing is free with no login required.
Responses
Join the community discussion. Sign in with Google to post a comment after the page finishes loading.